THE DIFFERENT TECHNIQUES FOR CUTTING TILES
Because of its resistance and its waterproofness, the earthenware or porcelain stoneware tile remains a very suitable and highly valued material in modern construction. However, due to its reliable moisture absorption, cutting modern tiles can be similar to cutting glass: fragility, chipping, sharpness of cut, deviation from breakage, etc.
This is why it is important to use the right tool for the best result. There is a difference between cutting, sawing and drilling, as well as the types of cuts required to install a water feature. In the absence of existing standards on the hardness and resistance of tiles, some rules and precautions must be observed which we will detail below. Before any cutting, remember to practice on a fall, in order to master the tools and to test the behavior of the materials.
The essential for straight cuts: The manual tile cutter
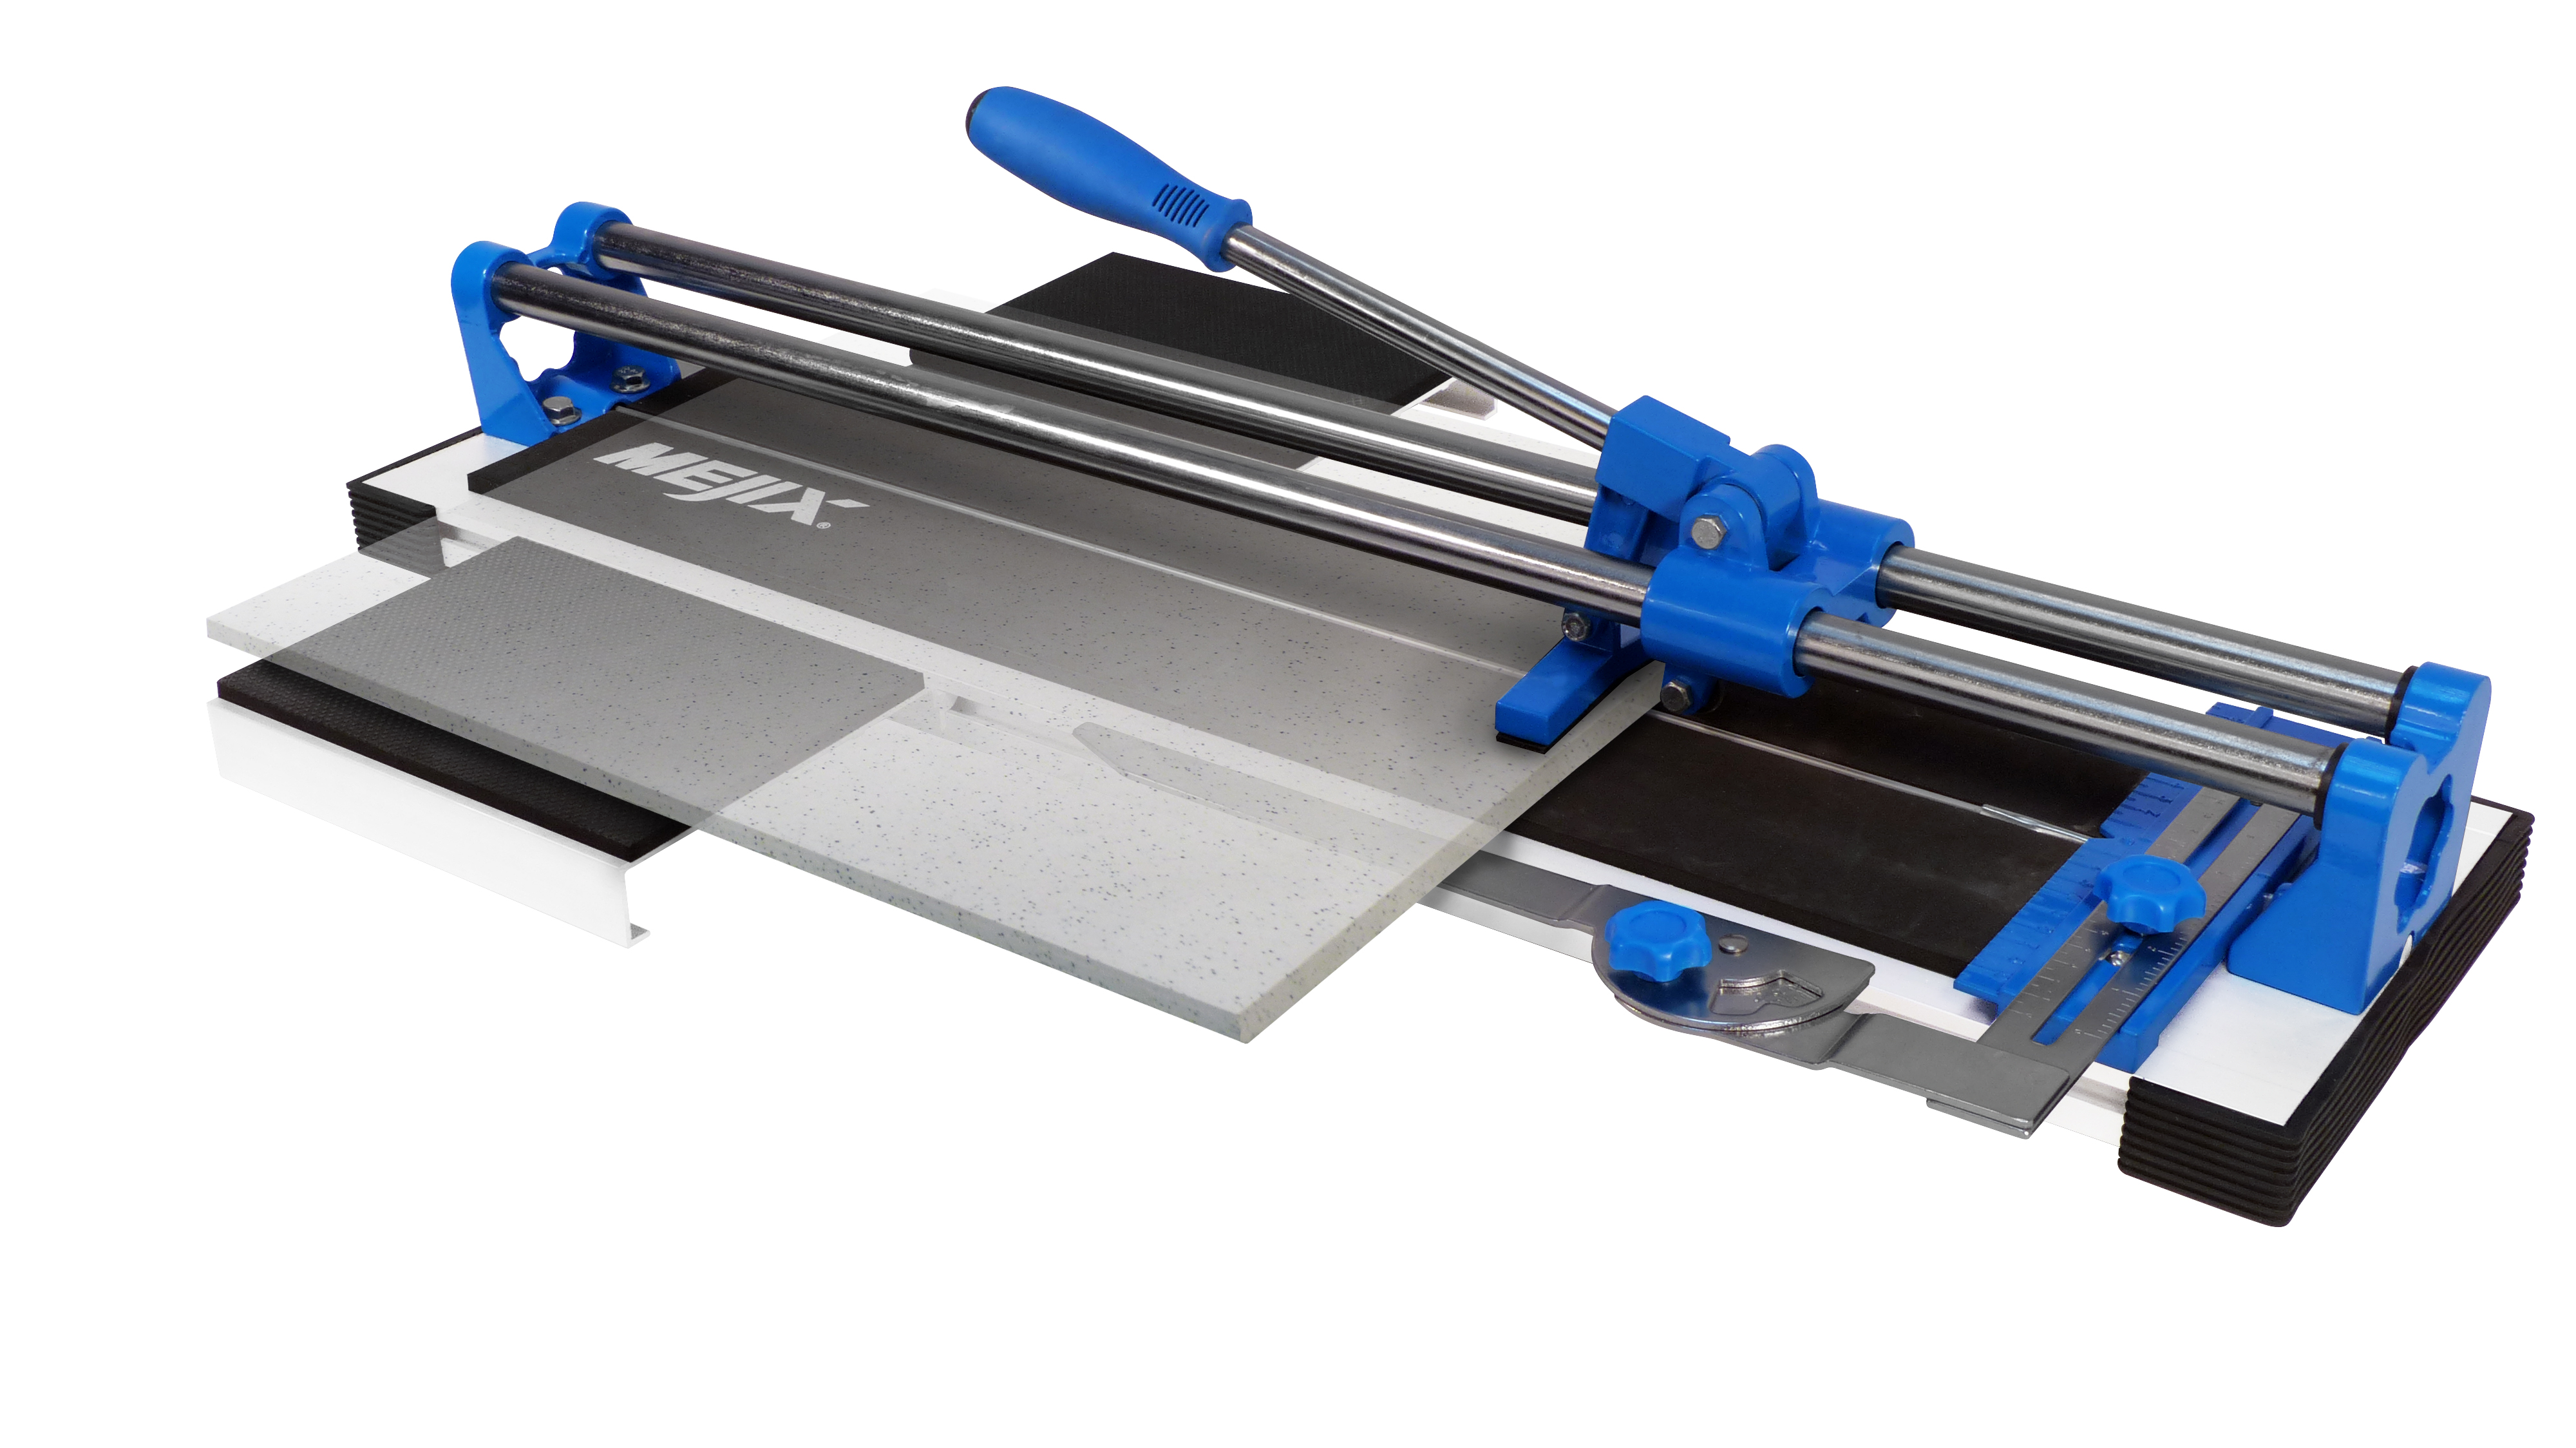 Ceramic tiles can be cut using a manual tool, such as a manual tile cutter. The tile cutter has a table, often covered with rubber pads, with one or two guides (bars), round or rectangular, on which slides a cutting head fitted with a tungsten carbide wheel and a lever. Prefer models with two guides to better visualize your cut line, even if models with one single bar are often more rigid.
First, draw the line to be cut on your tile. Insert the tile into the tile cutter, against the square if the model has one, and make sure the wheel matches with the marked line before tightening the square. When notching by pushing the hard layer of your tile, care should be taken to ensure that it is properly notched at each end of the cut line. This cut should be done in one movement, at a regular speed, and exerting pressure all along the cut line but not excessively (to avoid any bending of the guides). The purpose of this operation is to weaken the most resistant top layer and to create a starting point.
Then separated in two using the breaker tab, the tile is brought into position right above the line thus prepared. A short, sharp pressure allows a clean and crisp separation of the tile. Please note that diagonal cuts require a larger capacity of the tile cutter in table length. Carefully smooth the cutout with a sanding stone (A60), brick or carbide file.
Precision and toughness: the electric tile cutter
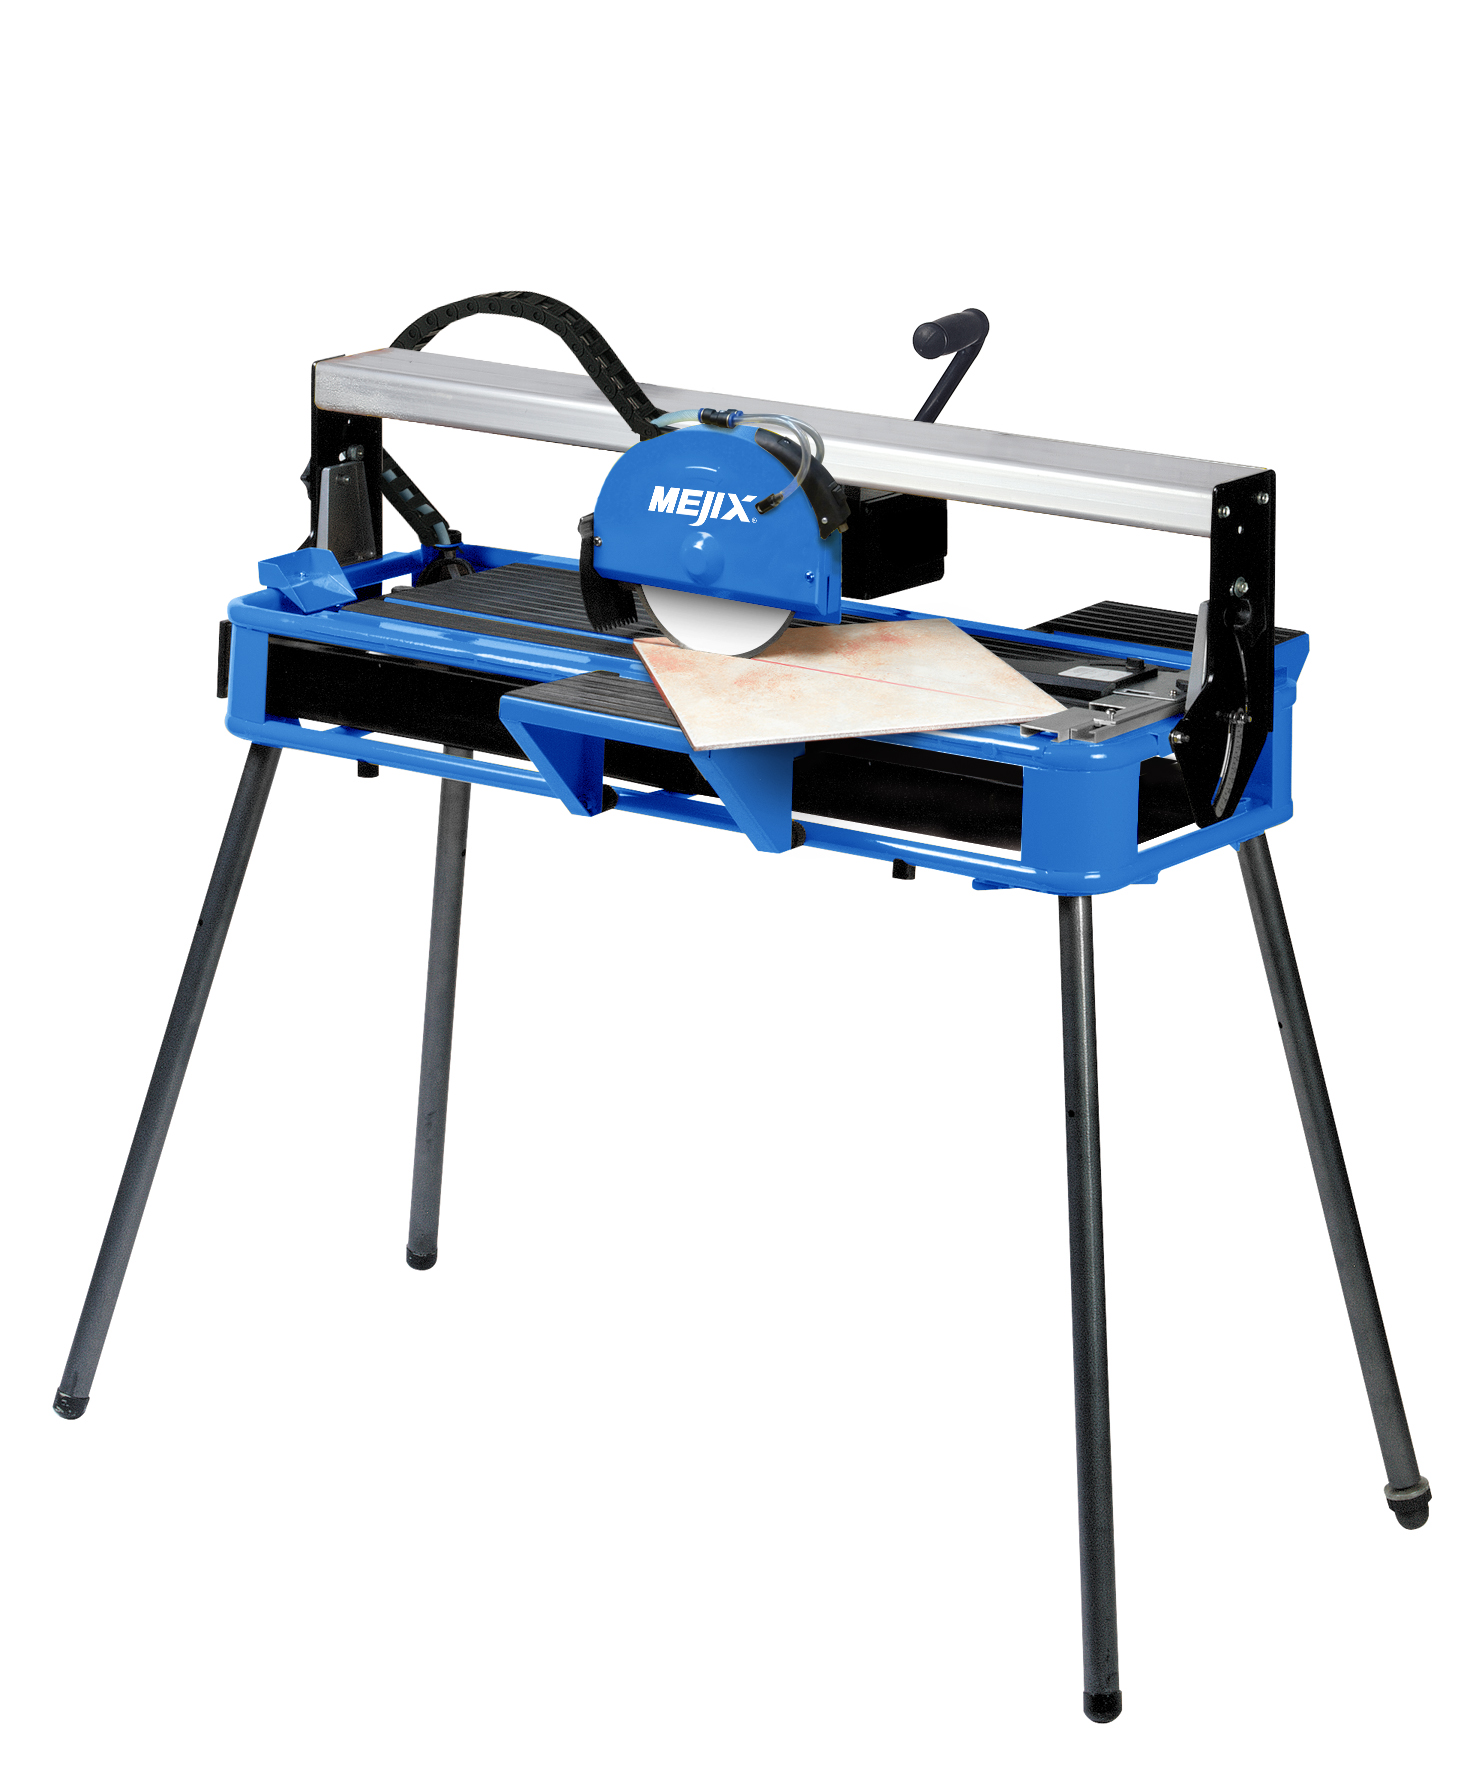
The use of an electric tile cutter allows for a clean and effortless cut. The tool consists of a removable water tank, a pump, a 45 ° tilting table often chrome or stainless steel, a blade surrounded by synthetic diamond and driven on a shaft by a well electric motor. isolated, a protective disc cover and often a parallel cutting guide. Depending on the models, the tool may include an angle cutting guide (tab). The use of water has the double advantage of cooling the cup and avoiding dust by humidifying it. When, after a while, it is noticed that the sawing of the tiles becomes more difficult and that the blade is producing more and more sparks, then it should be cleaned with a sharpening block.
The principle is therefore a hot diamond cut, cooled by water (water projection in the axis of the cut, after filling the tank). The electric tile cutter usually turns at less than 3000 rpm only. The watering of the work surface is permanent, so remember to equip yourself as for working in a wet environment. Do not omit the protective glasses (for splinters and water) as well as a pair of gloves necessary to guide the workpiece. It is generally advisable to use an electric tile cutter for straight or angular cuts, or series cuts.
WARNING: before any intervention on the machine, carefully read the instruction manual and unplug it before changing the disc or leaving it inactive.
Guiding is done by slowly pushing the tile along the parallel guide set at the correct distance from the axis of the blade. Always make sure that the water level is not too low and change it when it is dirty so that the saw can perform well. To make a better cut, you should not force or push the tiles into the machine. Instead, move it gently towards the saw so let the saw do the cutting. Water should cover the blade while you cut. Finally, with its mobile table that can be rotated at 45 °, the tool is ideal for bevel cutting. Be careful, the pressure exerted on the blade is greater for a bevel cut (to create re-entrant angles in particular), so proceed slowly accompanying the workpiece regularly and let the blade cool well after the operation.
For large size tiles or slabs, it will be better to use a radial tile cutter, where the blade is inserted into a movable cutting head, guided on a rail and pushed by the user over a tank of water stored for cooling.
The pliers family: rounded, small cuts and nibbles
The use of tile cutters, electric or manual, is essential for series cuts, but is no longer suitable for small cuts and finishes. There is a diverse family of pliers and nippers dedicated to cutting tiles or smaltes, which perform work that cannot be done with a machine. Let's take a look at the clamps dedicated to tiling:
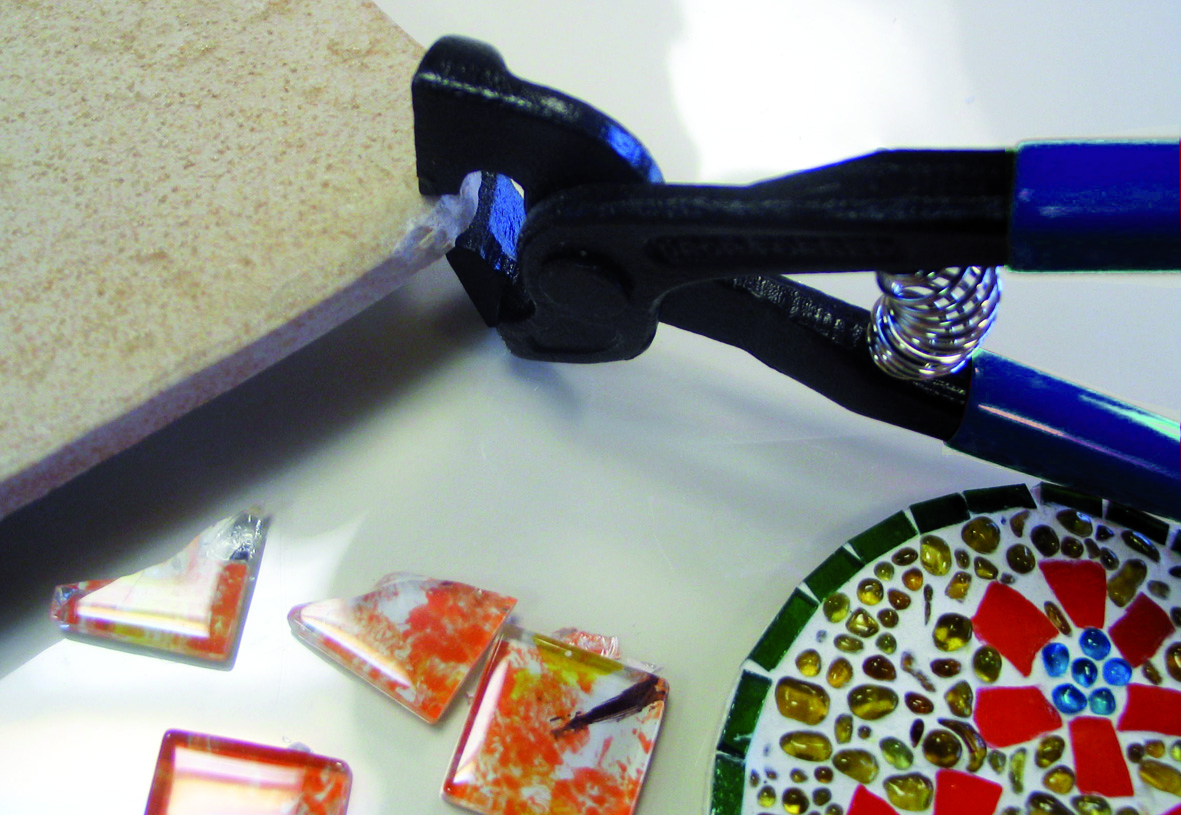
The double-wheel gripper:
With its two tungsten knurls often coated with titanium, the tweezer is a tool primarily dedicated to small smaltes and mosaicists. By pressing the two knobs on the surface, we manage to start the hard part and to remove by small potions the excess part. The pliers should be held firmly by the extremities of the handles. The wheels are easily changed with an allen key. This pliers is also suitable for cutting glass, like most tile pliers.
The trimming pliers:
Also called "Parrot pliers" because of the shape of its jaws, this pliers effectively allows you to trim a tile edge after cutting. Used with patience and precision, it also makes it possible to make small roundings if necessary.
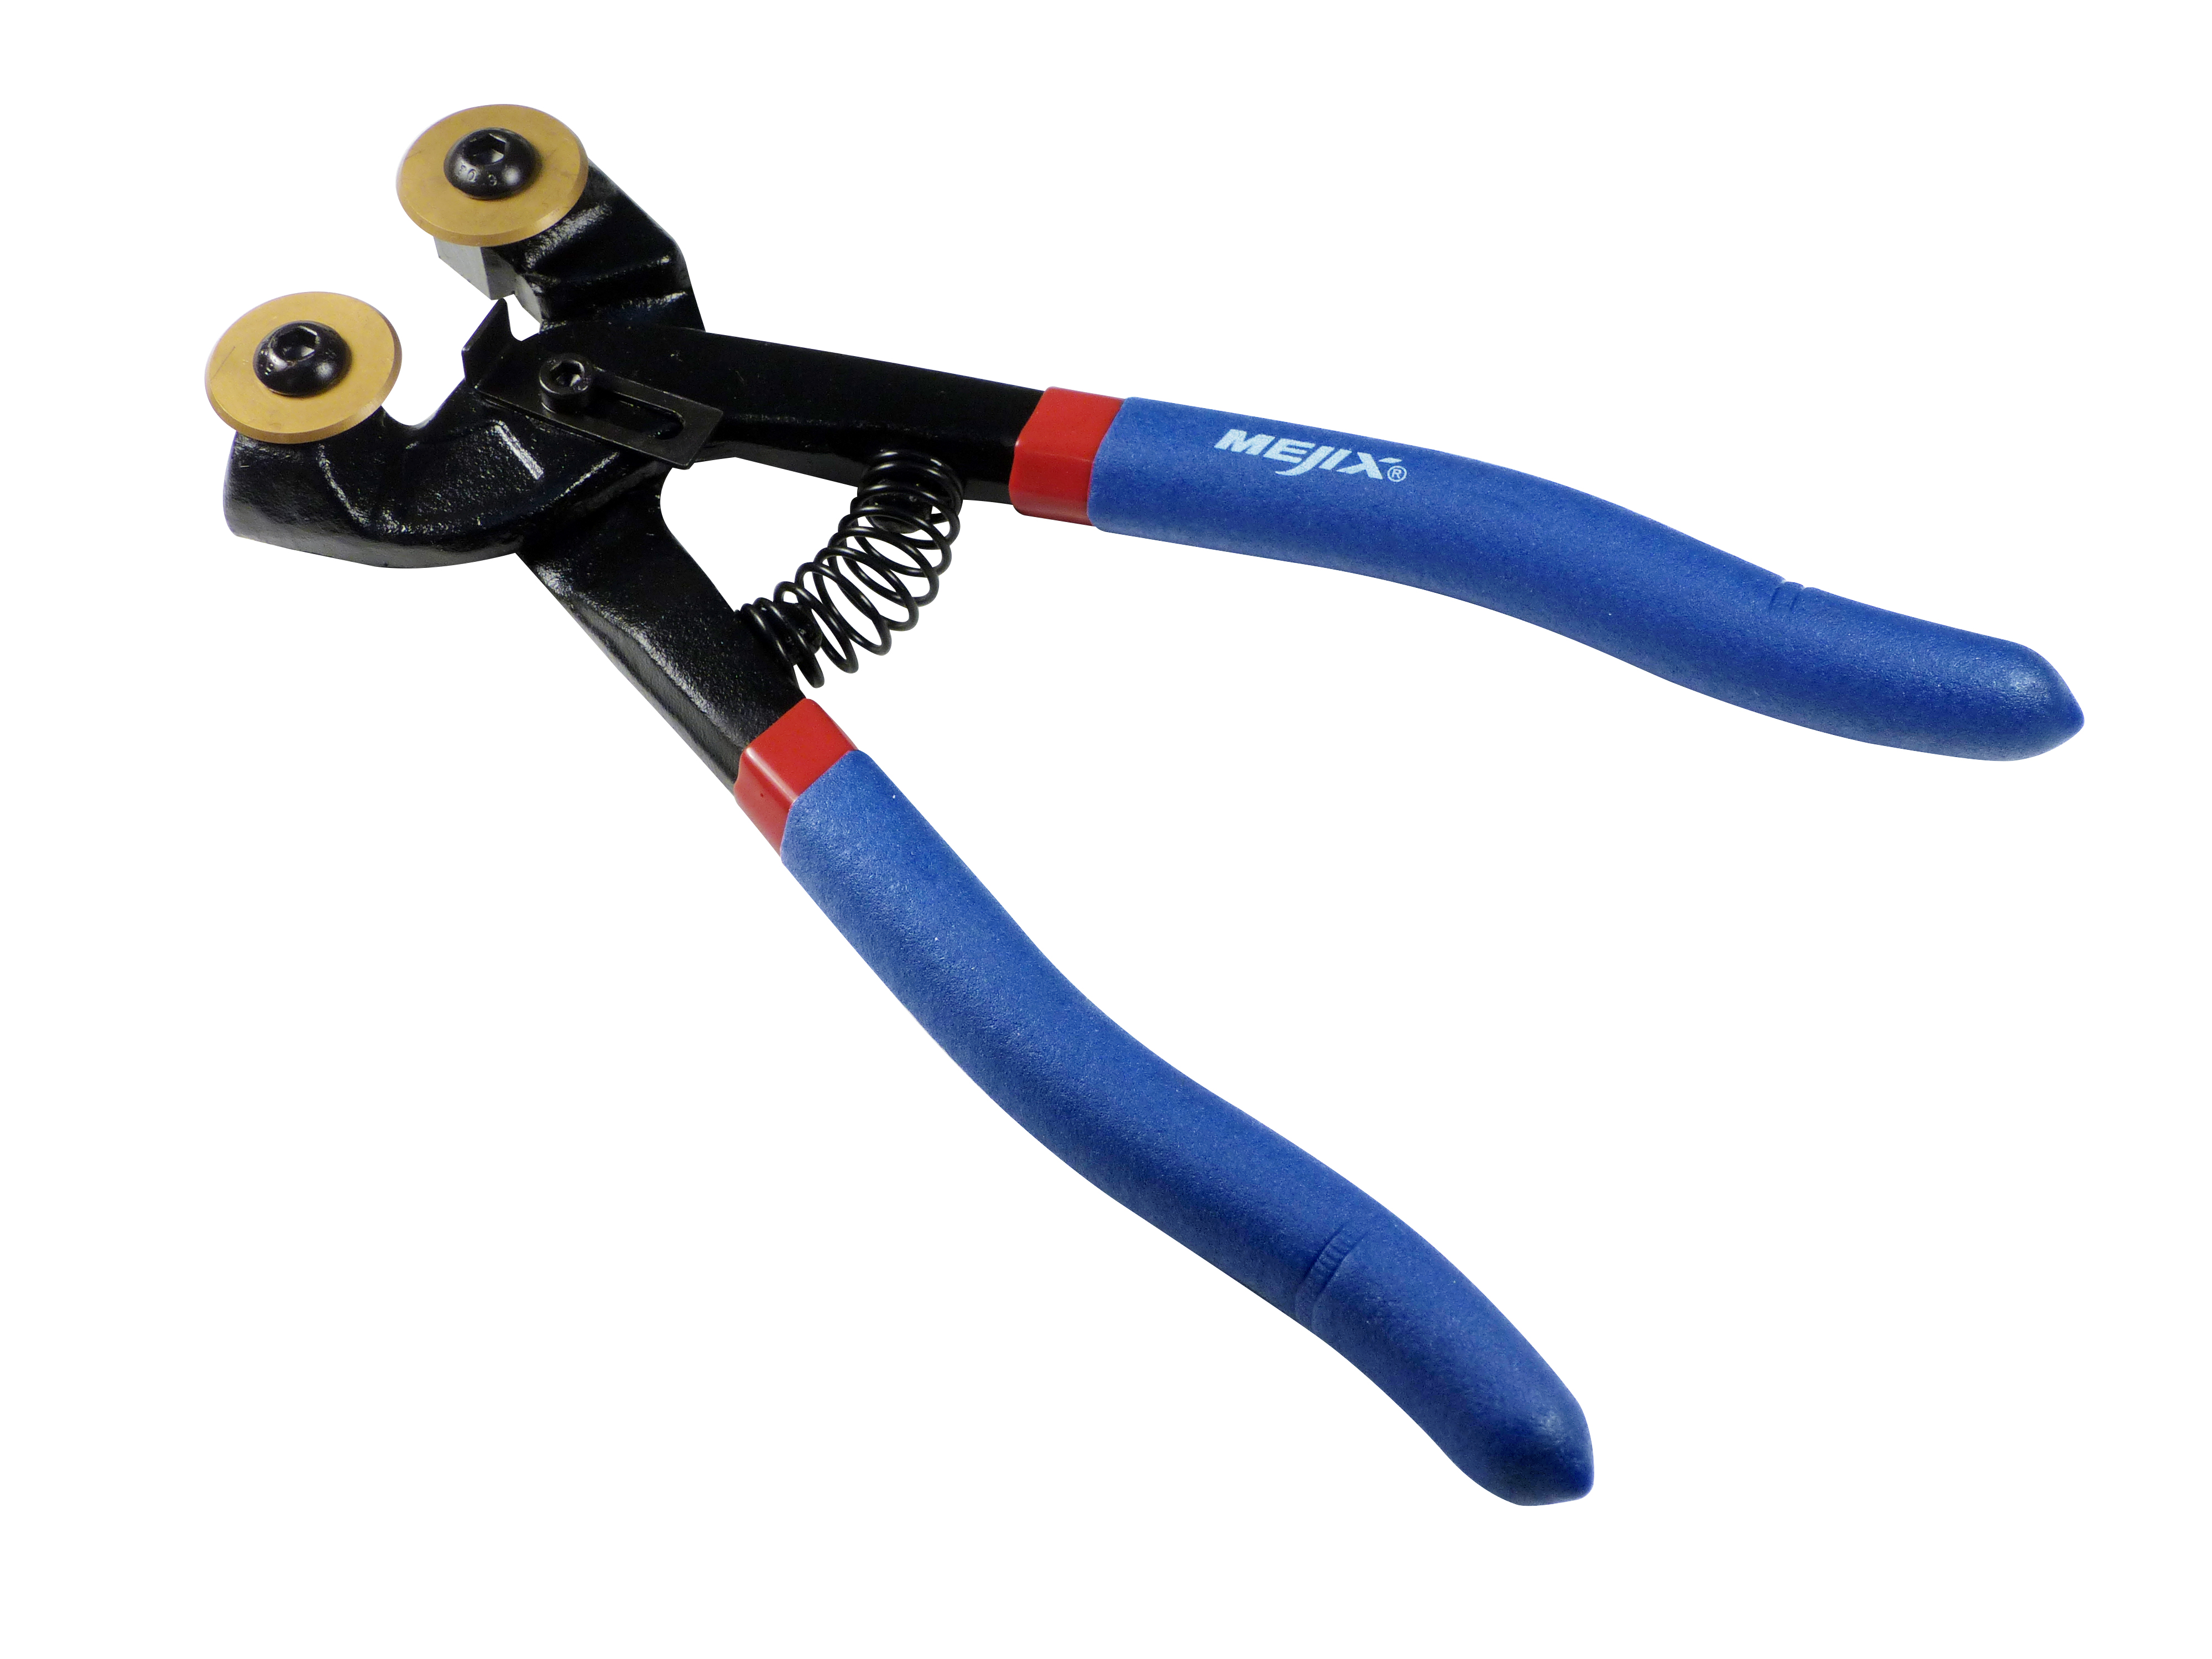
The mosaicist clamp:
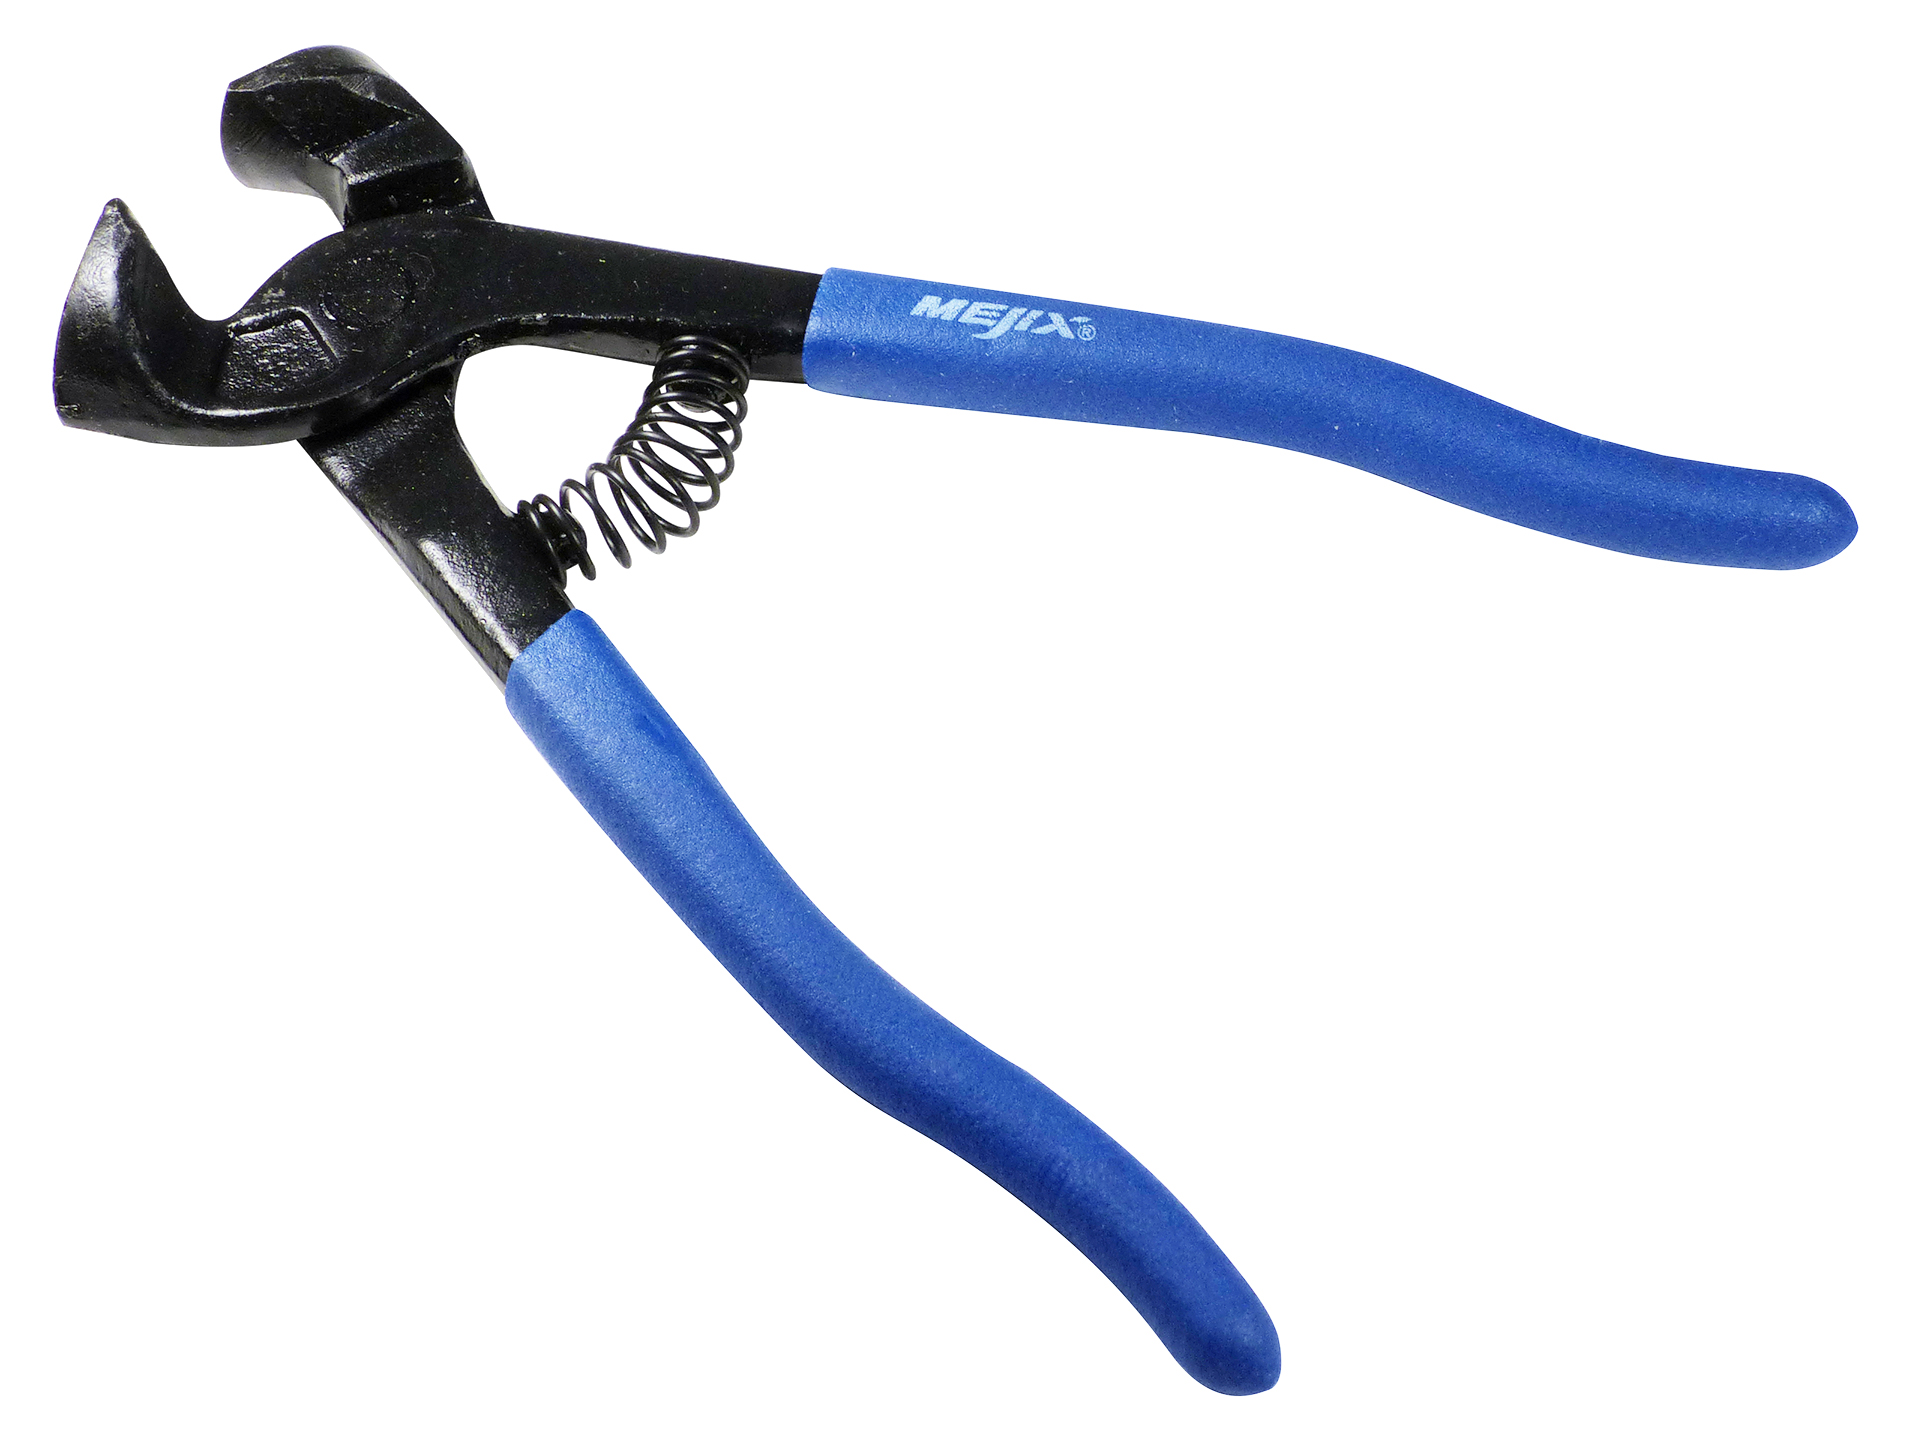
Also called Japanese pliers, it is a great classic of the checkered pliers. It has two eccentric steel jaws filled with tungsten carbide with a spring between the two. The jaws are offset from the axis of the handles, and they are slightly rounded at the sides. With this pliers you can make roundings (but more accentuated than with the Parrot pliers) but also cut small tesserae, lengthwise or diagonally, by simply pressing the jaws with your hand. It is also used for finishing walk-in showers.
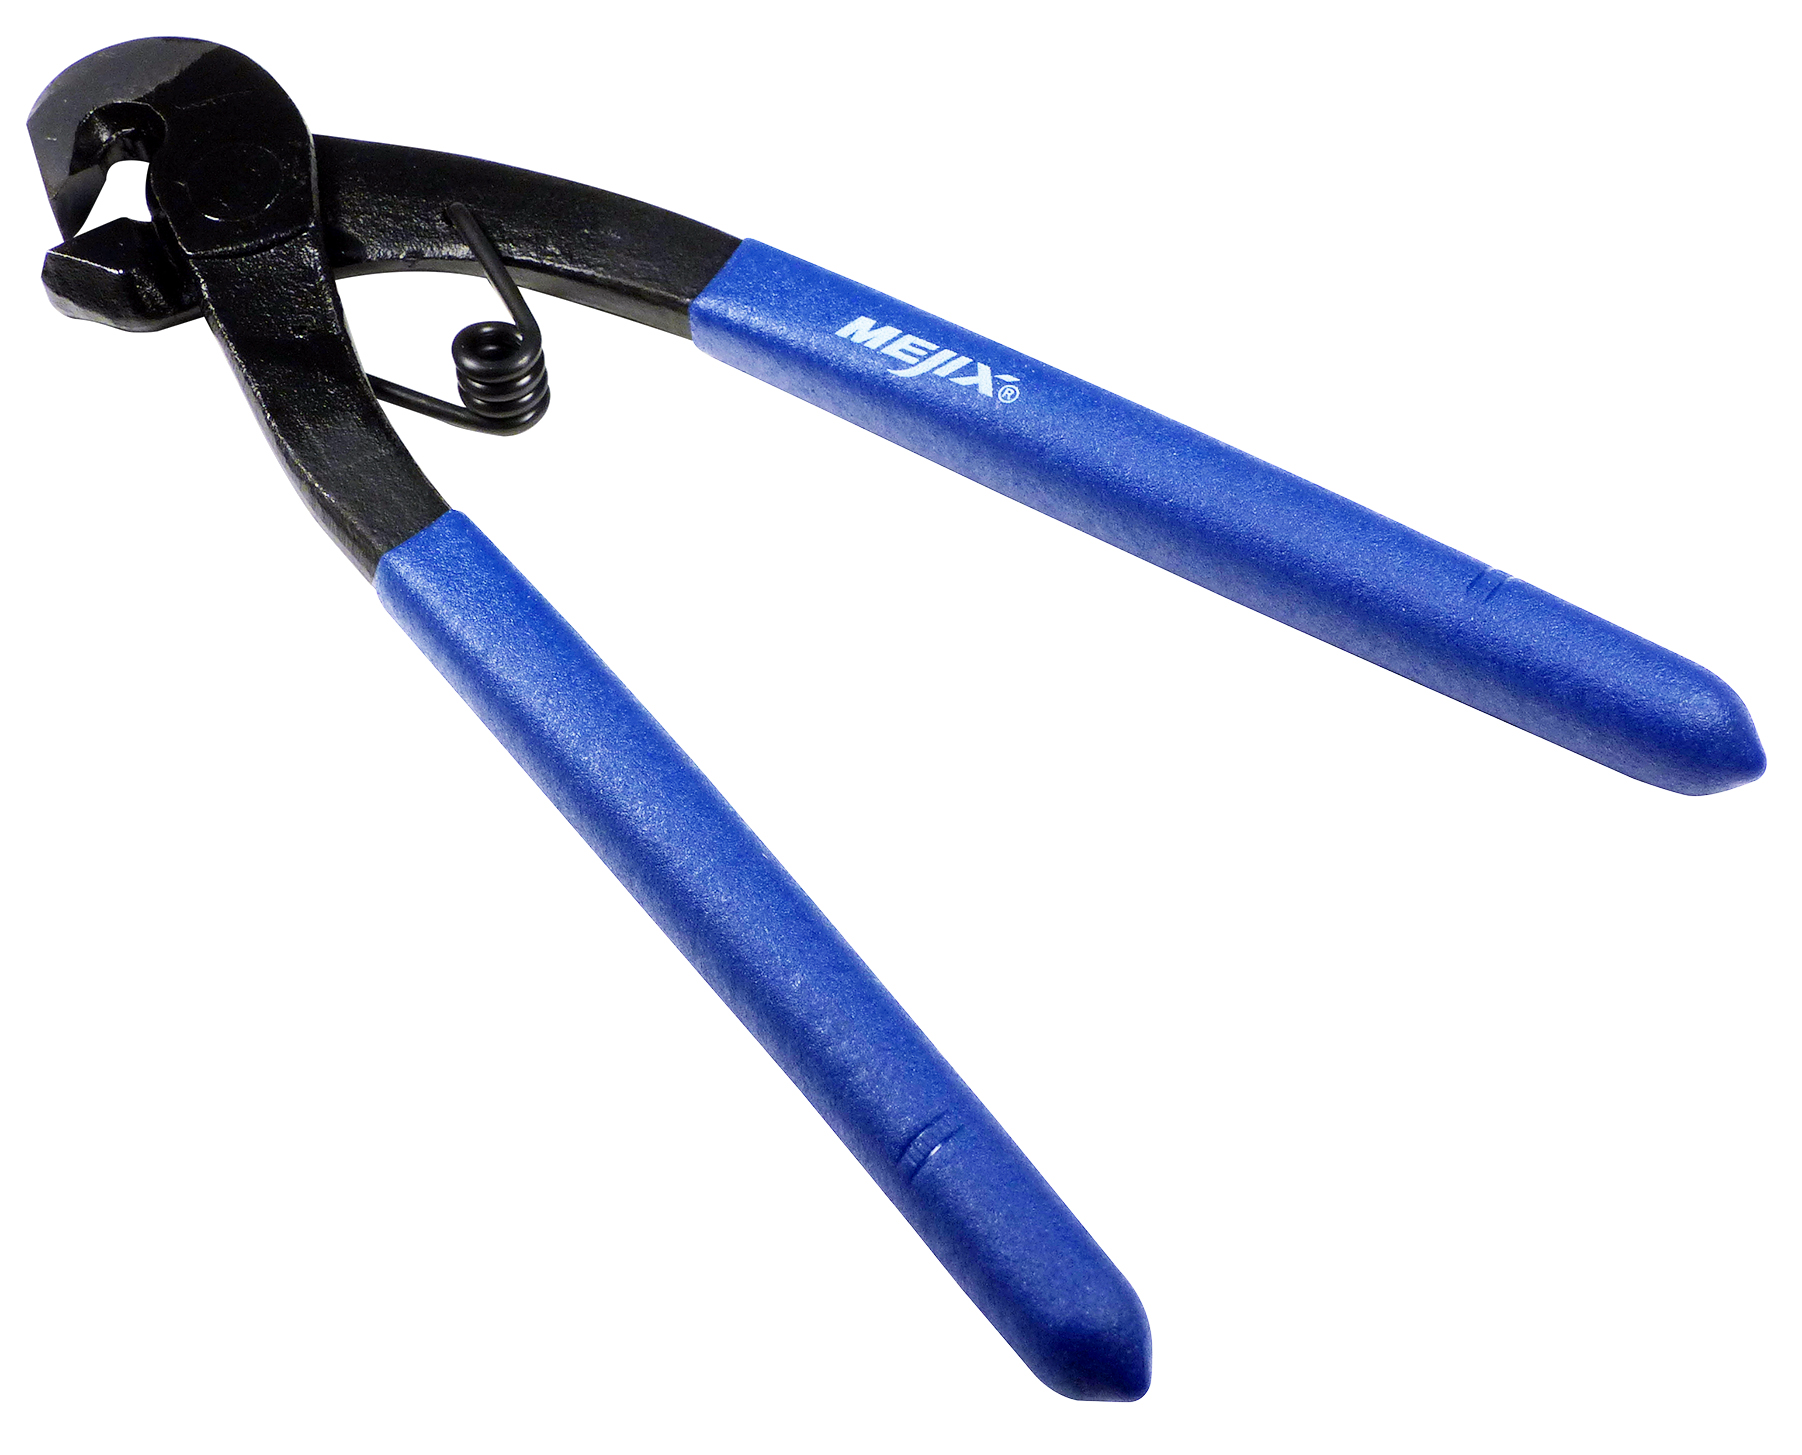
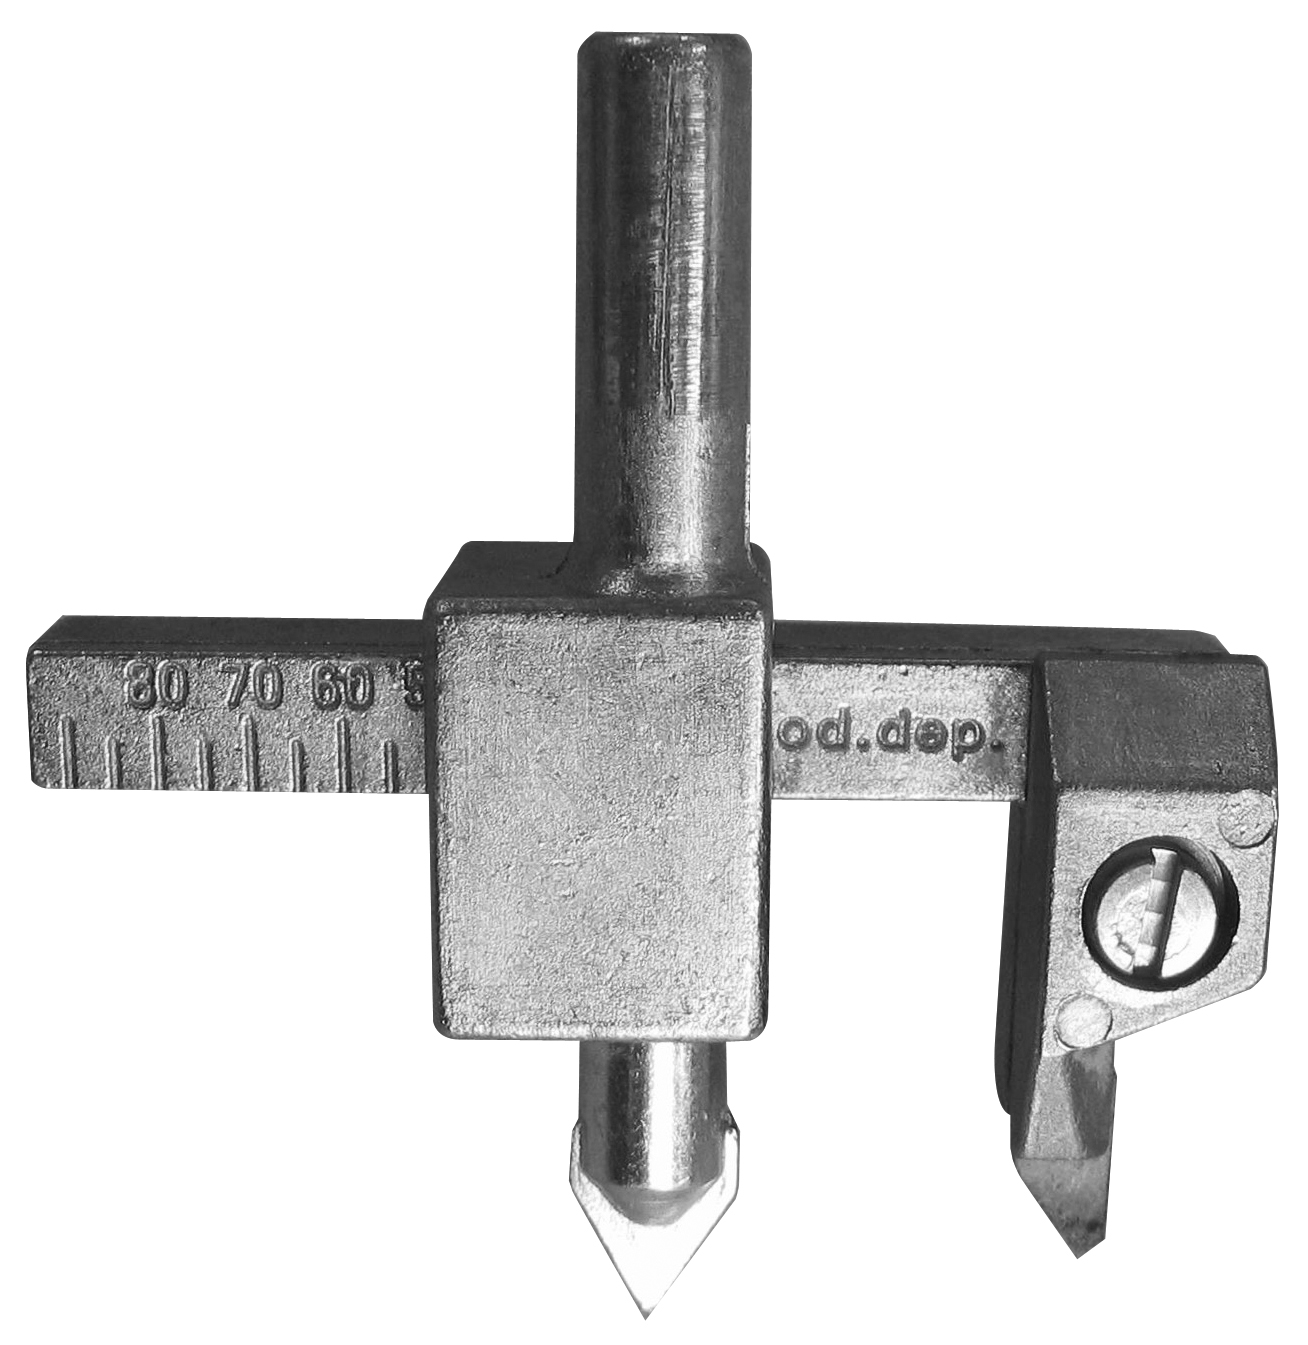
The tile cutter grip:

True mini manual tile cutter, this pliers uses the principle of cutting on a smaller scale. An angle to cut, a small notch, and the tile cutter is required. It is equipped with a carbide wheel, two jaws with a break tab in circumflex accent on one side. Just scratch the tile with the wheel, then slide it under the breaker tab and separate it by squeezing the covered handles.
We have listed the more traditional pliers here, but there are other varieties of pliers and pliers on the market, but which offer more or less the same functions.
Manual sawing: it hangs by a thread
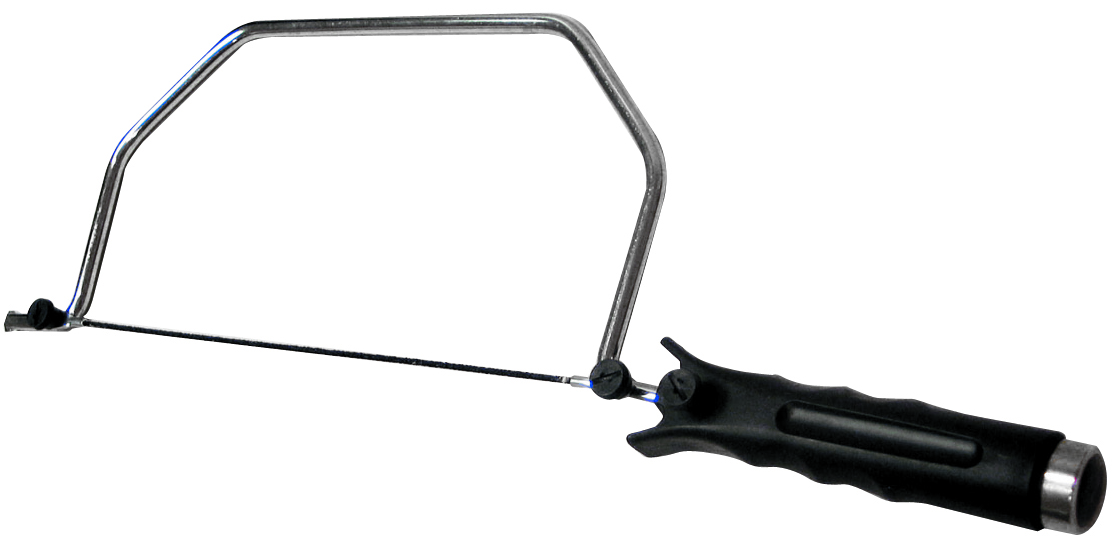
Yes, but a steel twist wire coated with tungsten carbide. The principle of the wire saw is to be able to drill a large opening, whatever the desired size, inside a tile (for a water pipe, a support or a fixing arm for example). The tile is first drilled with the tip of the saw, also with carbide, using the crankshaft effect of its shape. We then remove the wire from the saw and pass it inside the hole made, and all that remains is to reassemble the wire on the saw post to perform the internal cut. It is important to have a slow but steady movement when cutting. Finishing is done with parrot pliers and a file.
Tile drilling: bits and drills
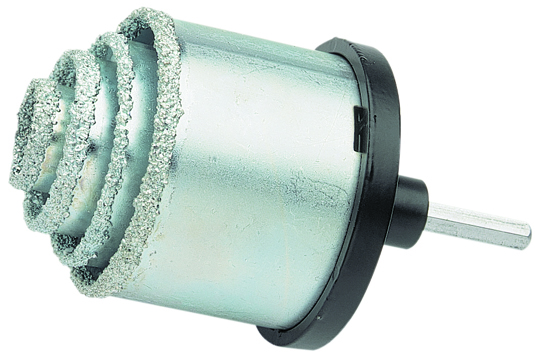
When drilling a tile, care must be taken not to exert too much pressure on the drill, keeping in mind the fragility of the tile as long as it is not placed on a wall or floor. It is therefore advisable to put a cross with Chatterton or two pieces of adhesive on the place where you plan to drill, and hold the tile on a board with spikes. The use of tiling drills (with carbide) is of course recommended. For larger holes, such as niches for switches and sockets, use a hole saw with the necessary diameter, or an extendable bit with an adjustable diameter. Always start at low speed. The ideal is of course to drill the tile before it is laid. It is advisable to further moisten the cutting area, which will prevent cracks during the operation. The drill must be kept upright.
Now, to your pliers, get set, tile!