THE CHOICE OF TILE SPACERS
The spacers are very important for an optimal realization of the tiling. They allow space between the tiles to permit the grout to be applied.
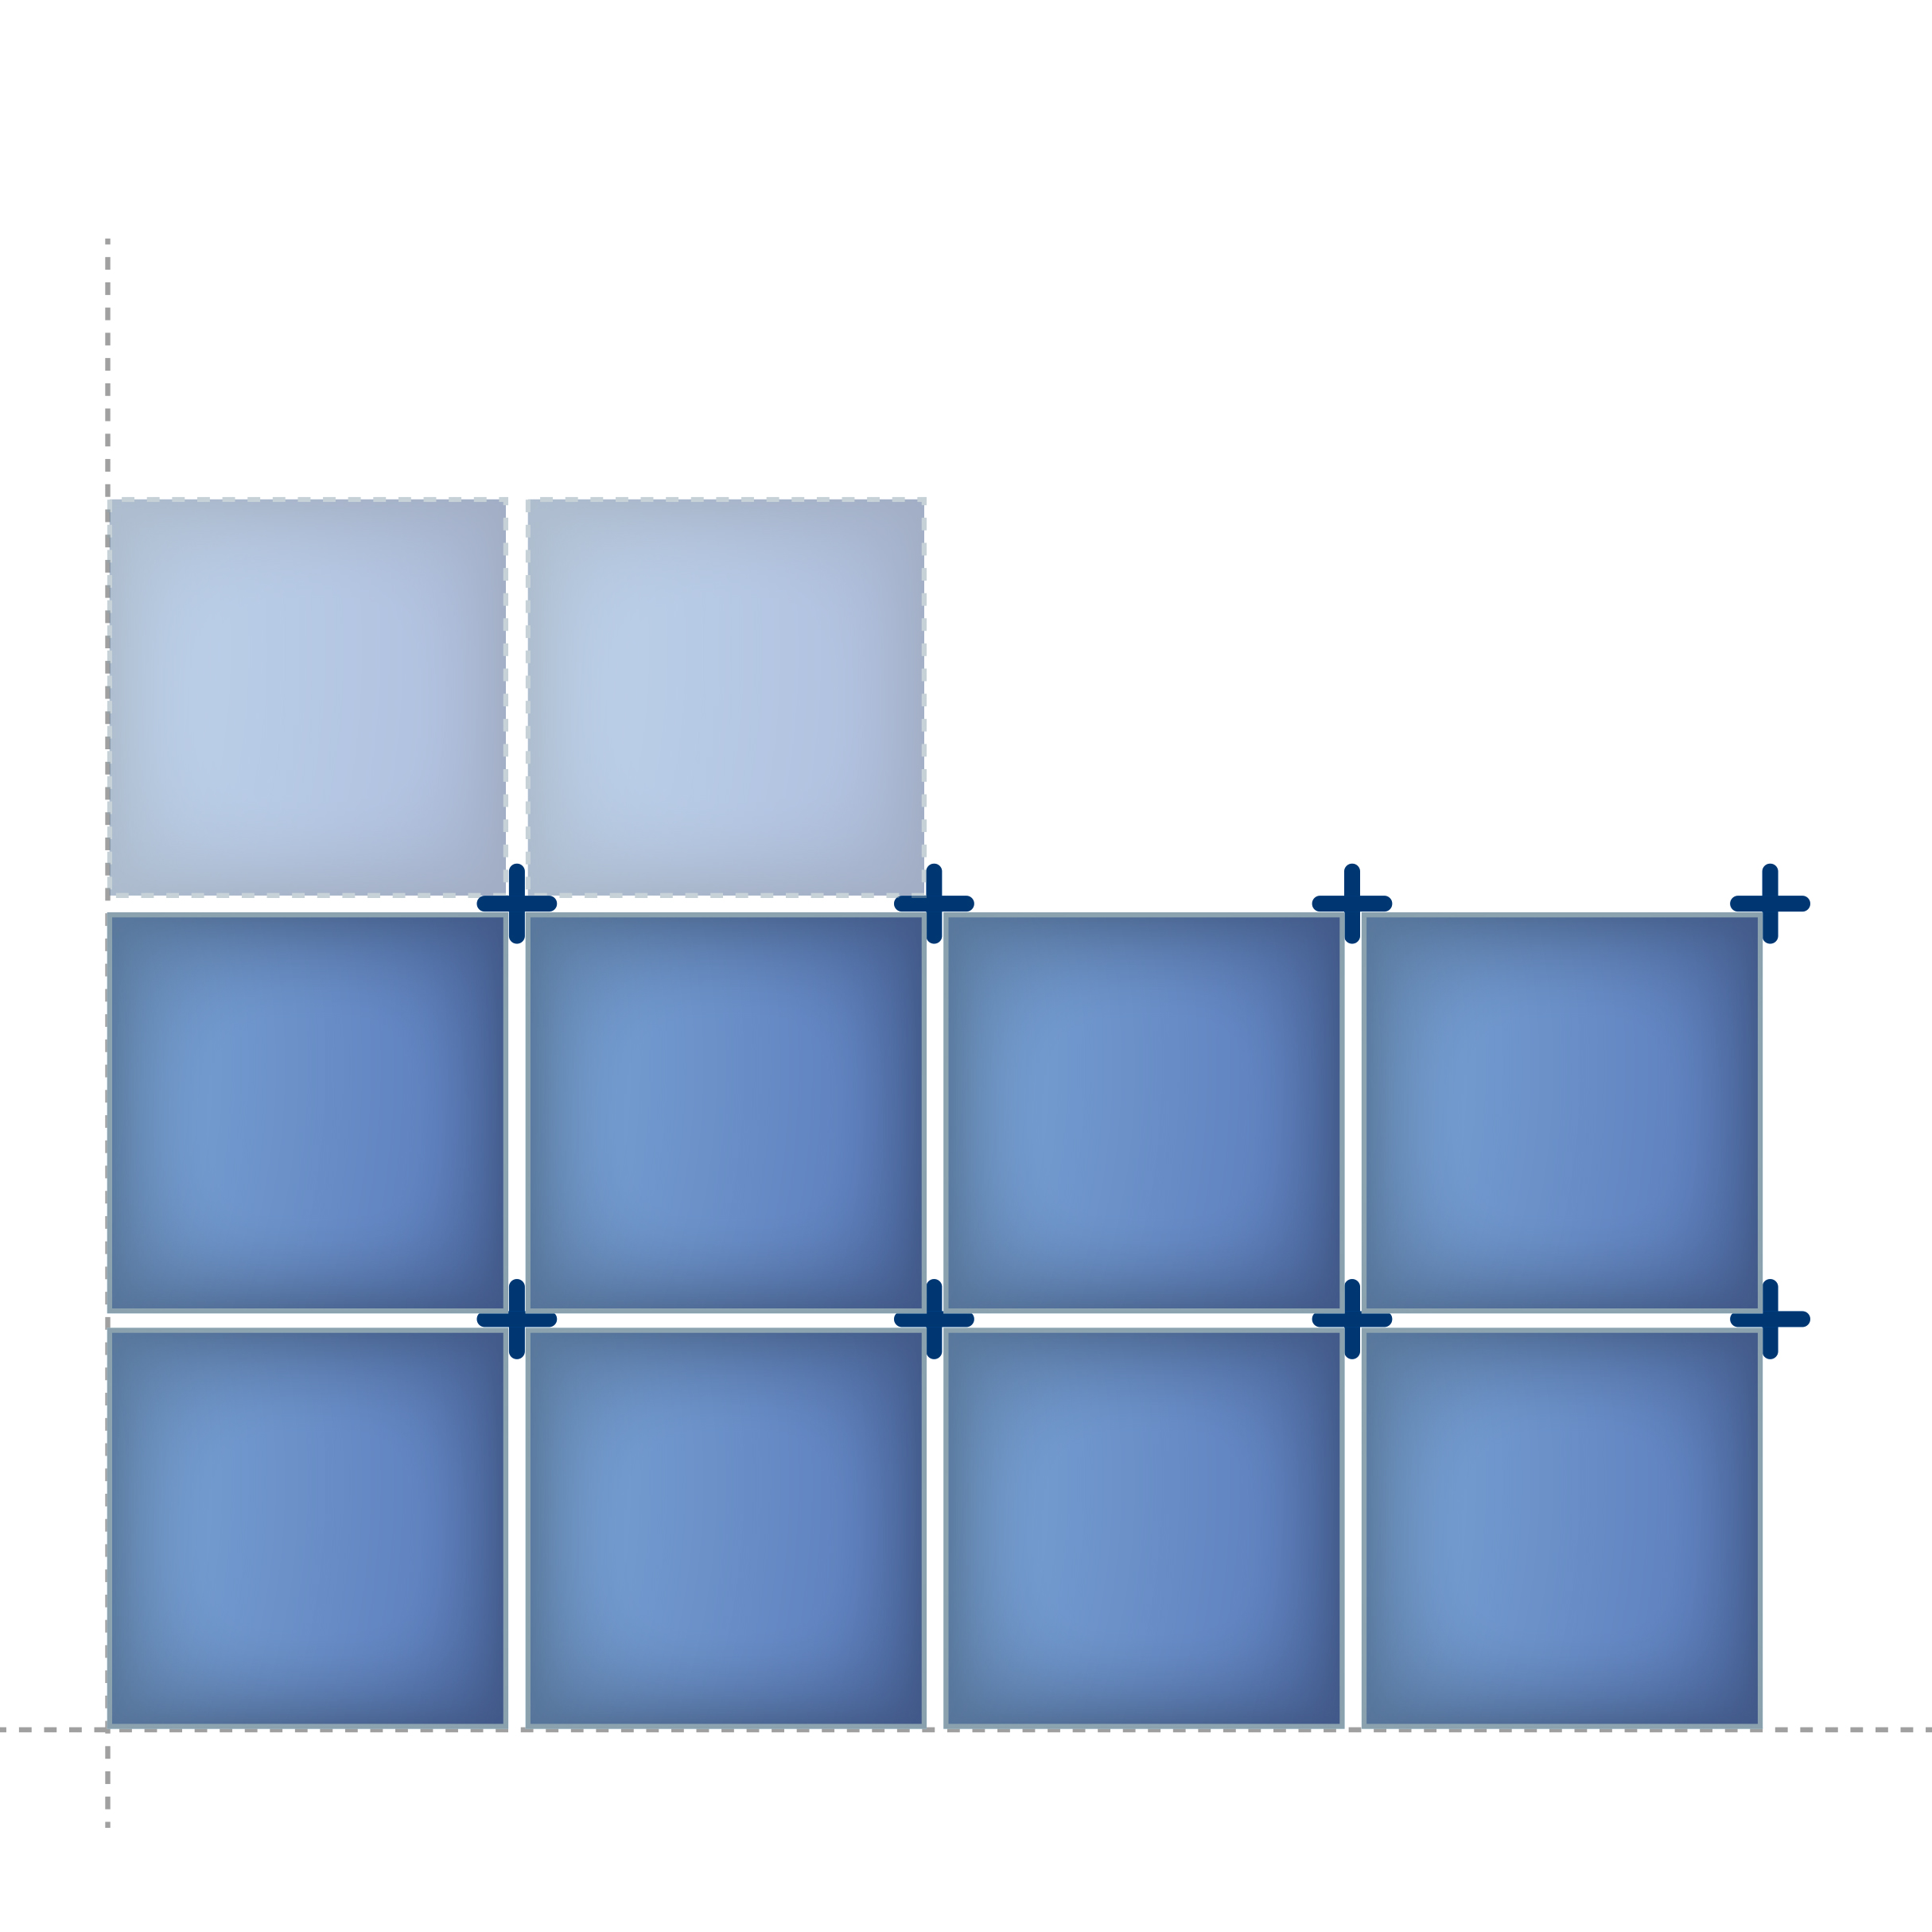
1) lay a complete row of tiles, inserting a spacer each time.
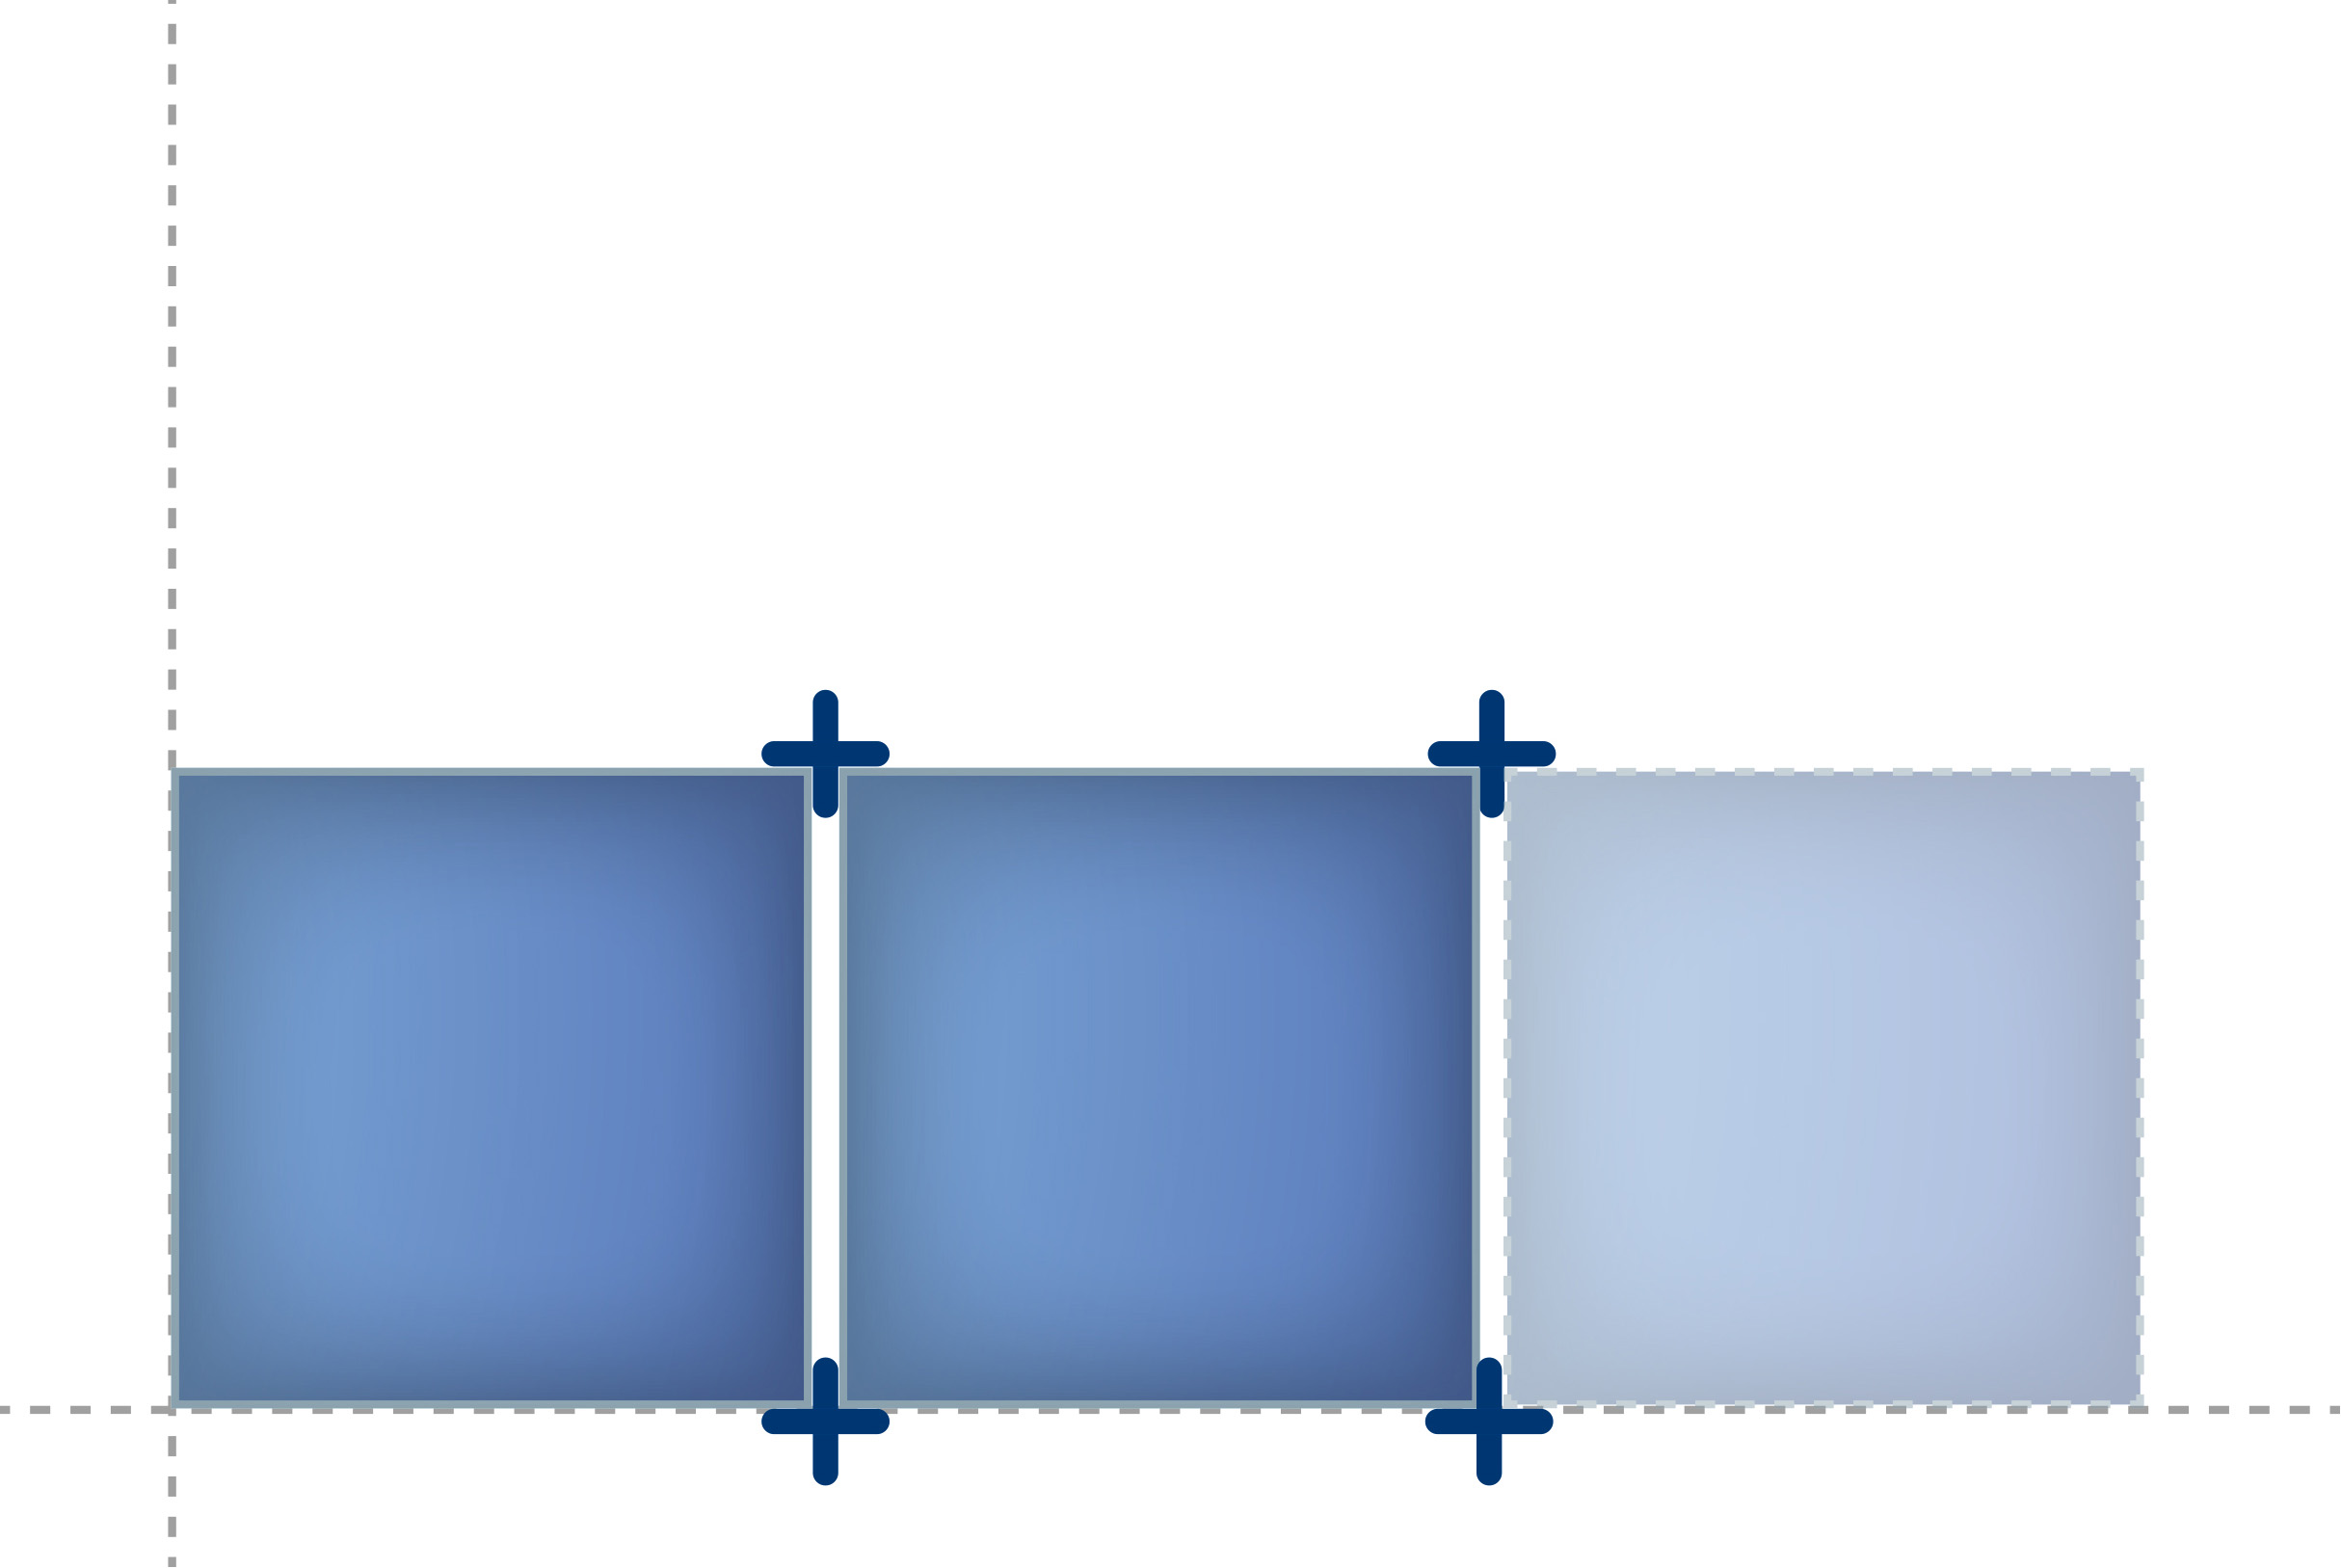
2) Start over from the base tile for a new row.
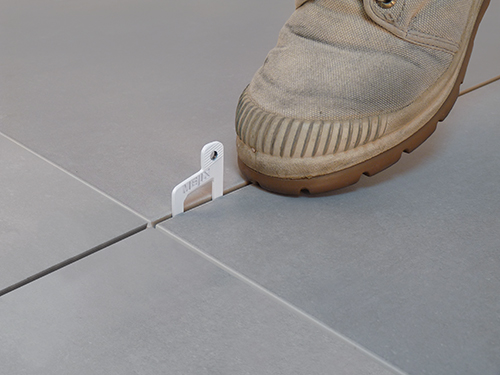
Remember to remove the spacers before the adhesive mortar dries.
Some spacers can be poured into the joint mortar. You can also choose recoverable spacers. To calculate the number of spacers to use according to the size of your tiles and the surface to be tiled, you can use the following calculation method: 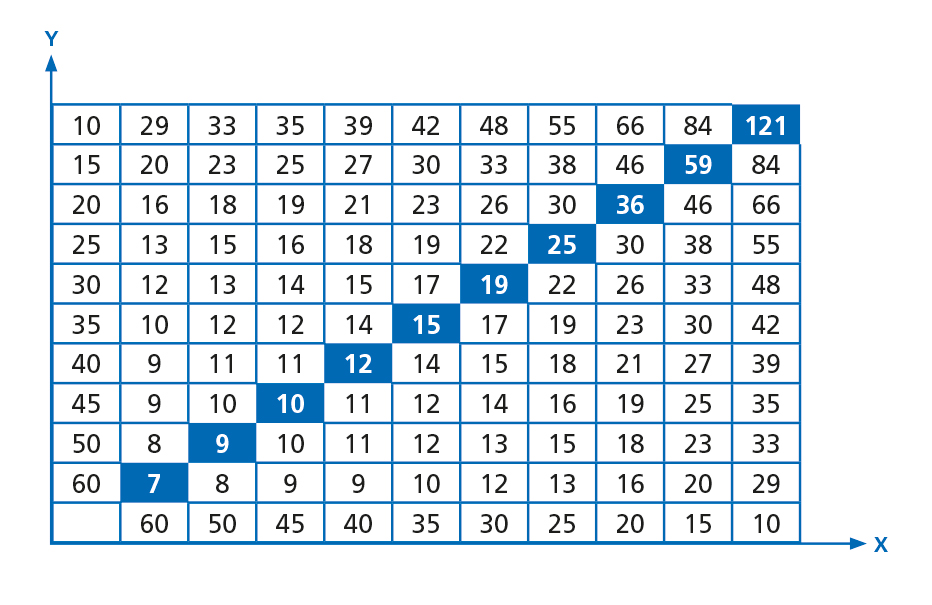
Let X be the length in m and Y the width in m of the tile The number of spacers is equal to
1+ (1 / X) + (1 / Y) + (1 / XY)
Most spacers are cross shape, and can be different thickness, depending on the thickness of the joint you want. Some are equipped with a "handle" to recover them more easily, and reuse them after cleaning on another site, these are the retrievable or reusable spacers
The different types of tile spacers :
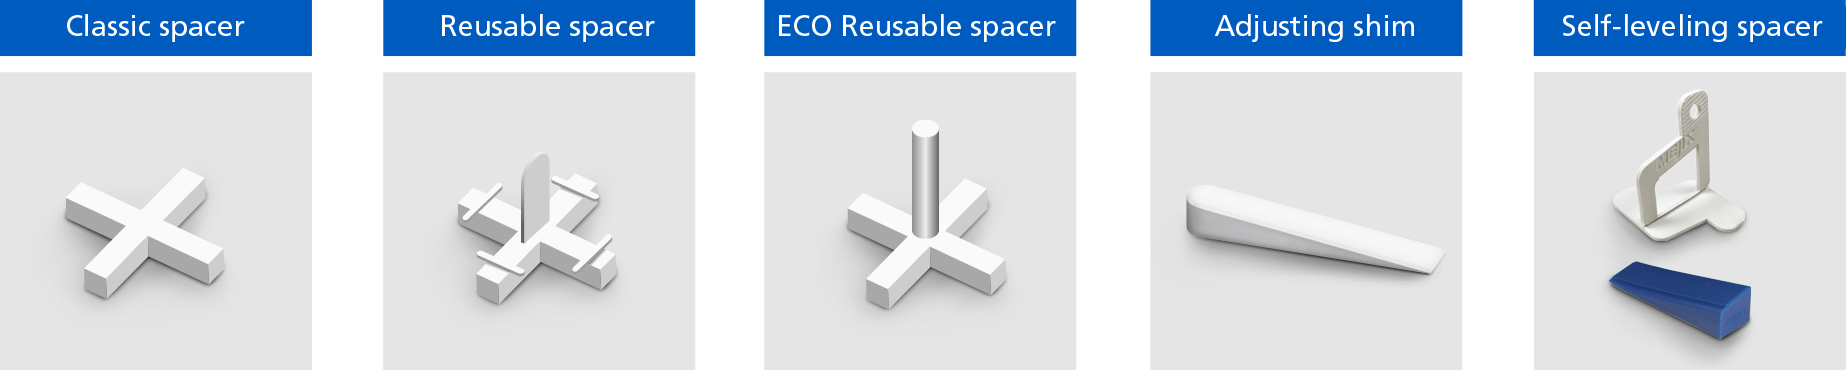
Self-leveling spacers :
For an optimal result, you can opt for self-leveling spacers, these ensure a perfect leveling between the tiles, and this automatically. It is a
dual-purpose spider, it allows the tiles to be evenly spaced while ensuring the flatness of the entire surface.
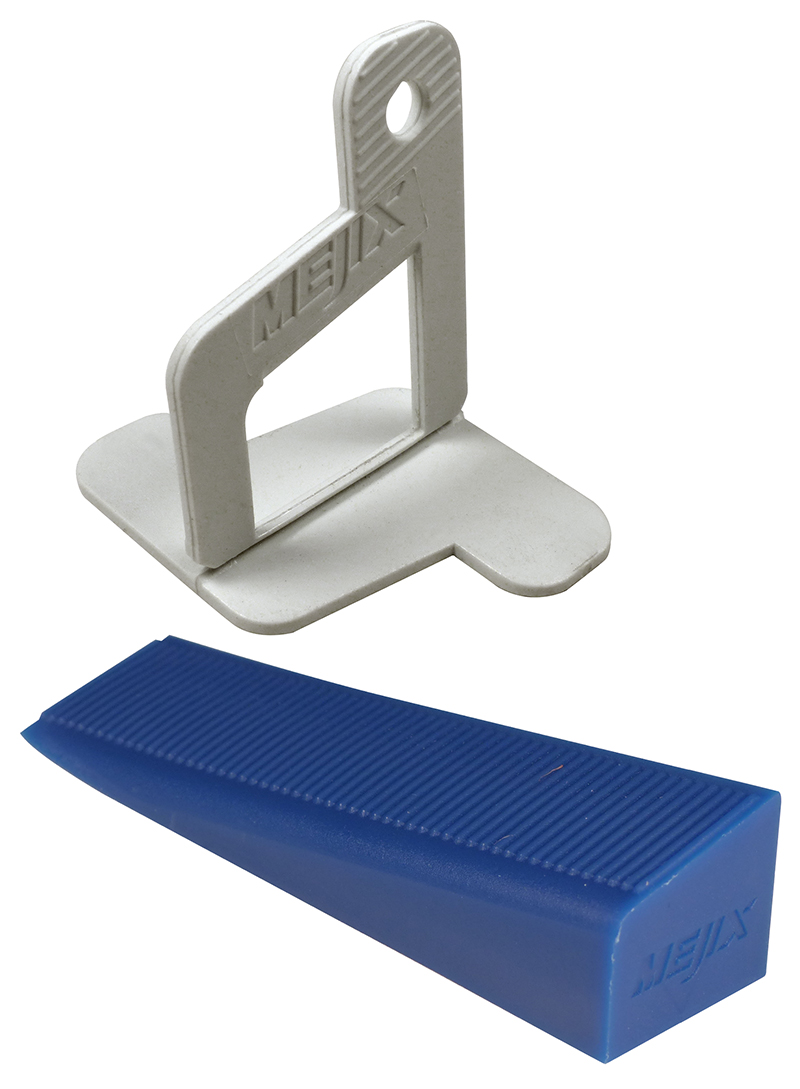
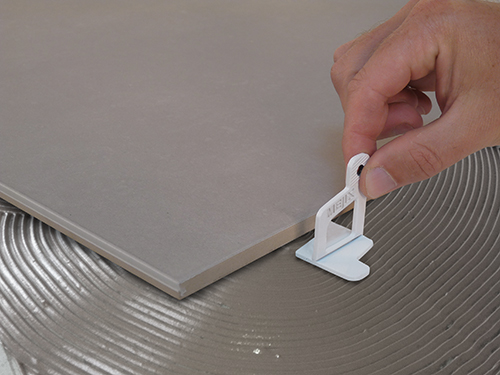
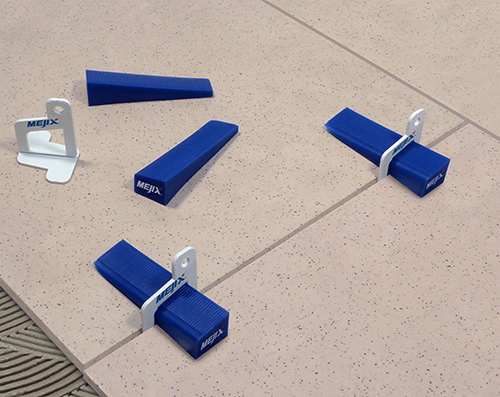
1) Spread the glue well using a tooth comb or plaster. Then slide the white (for Mejix’s) “T” wedges under the tiles (one per side). These “T” (white) media will not be recoverable. Do not glue too thickly so as not to flood the "T" brackets and prevent breakage of the upper part.
2) Depending on the size of your tiles, use one or more “T” shims on the perimeter.
3) Position your tiles and tap them gently with a mallet or a wooden bat over the entire surface.
How to insert the wedge ?
1) Insert the wedge (blue in Mejix’s) into the opening of the "T" wedge but not too suddenly so as not to risk separating it into two parts (the base is designed to be self-detaching more easily after the glue has dried) .
2) To facilitate the insertion of the wedge you can use a small flat hammer or a piece of wood to strike.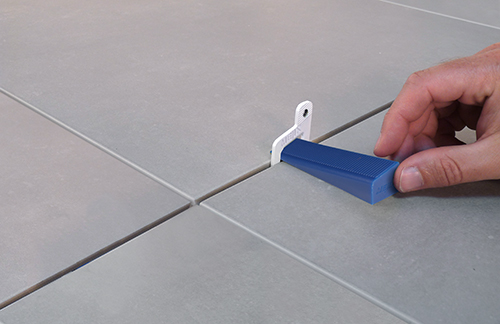
How to remove the "T" bases which protrude after installation?
When the glue is well set (wait until the next day if possible), the upper part separates from the base by giving a blow, in the direction of the joint line (especially not in the other direction), with a mallet or simply with the foot. You can also use one of the blue corners as a punching pad to blow up the upper parts of the "T" spacers.