

Tiles gluing (Straight stack tiles laying)
The tiles are glued with using a glue comb/scraper. Depending on the types of glue and the materials (exterior or interior), we can use U-shaped teeth (tiling) or V-shaped teeth (Earthenware).
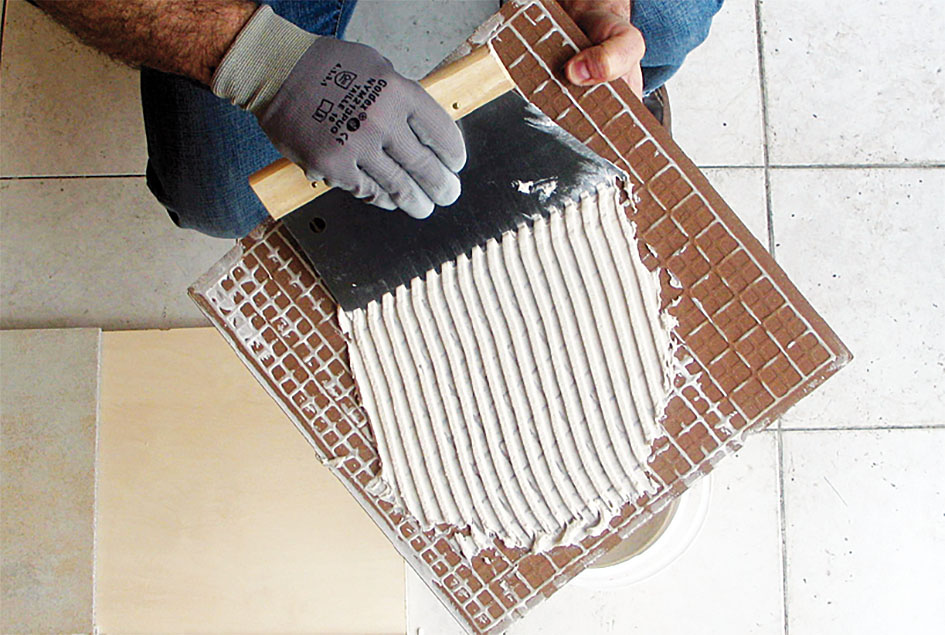
For larger surfaces to be glued (or for laying on the floor), a serrated trowel can be used. Gluing is spread on the support and on the tile. It is important to "scratch" the surface of glue, with the teeth of the comb or with the trowel, to ensure a better gluing operation.
For larger tiles, it is better to use a trigger suction cup.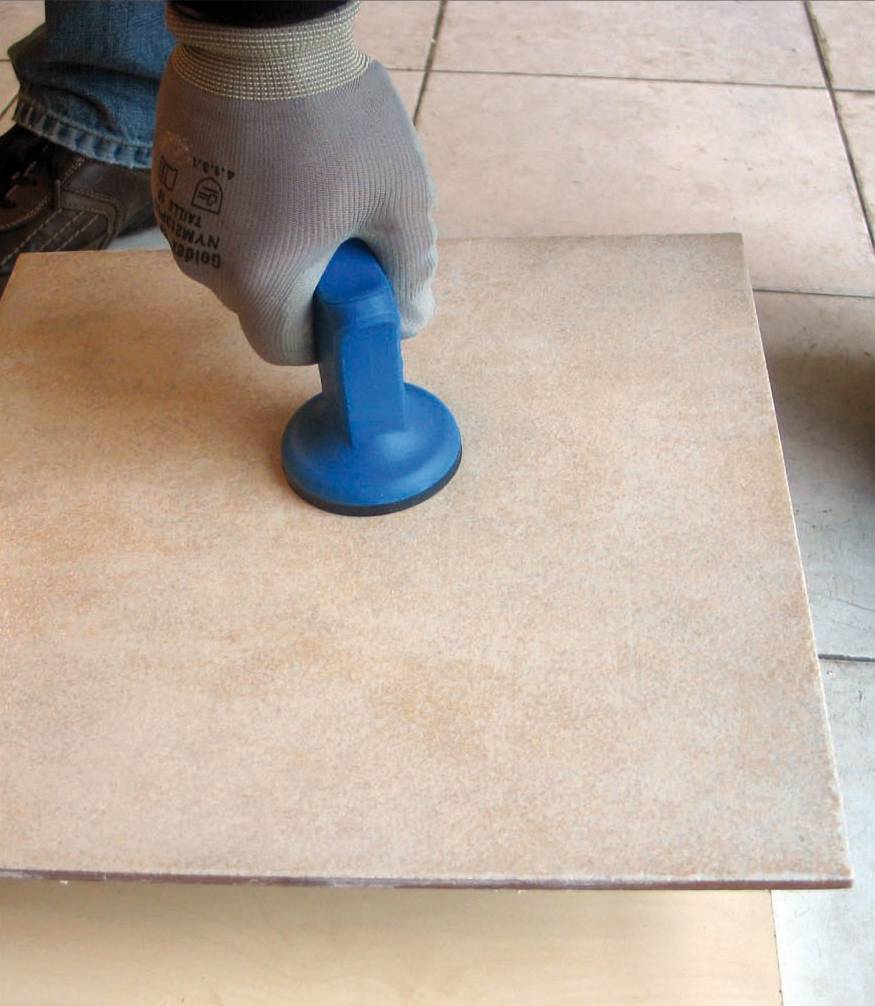
To test if it is a good match, make a double gluing test and press the tile against the floor:
the adhesive scratches must have almost completely disappeared on crushing, for the bond to be effective and covering.
Do not apply the adhesive stuff on a floor which is too hot or too cold.
The soil temperature should not be lower than 5 ° C and should not exceed 25 ° C.
If you are installing the tile on a heated floor, switch off the heating for at least 24 hours before installing.
If you have a large surface to glue, it is also better to use an electric mixer which will make your job much convenient.
It will be easier to glue an old tile surface than a new concrete screed, because it draws moisture from the glue and makes it harder to stick; hence the need for a preparation product.
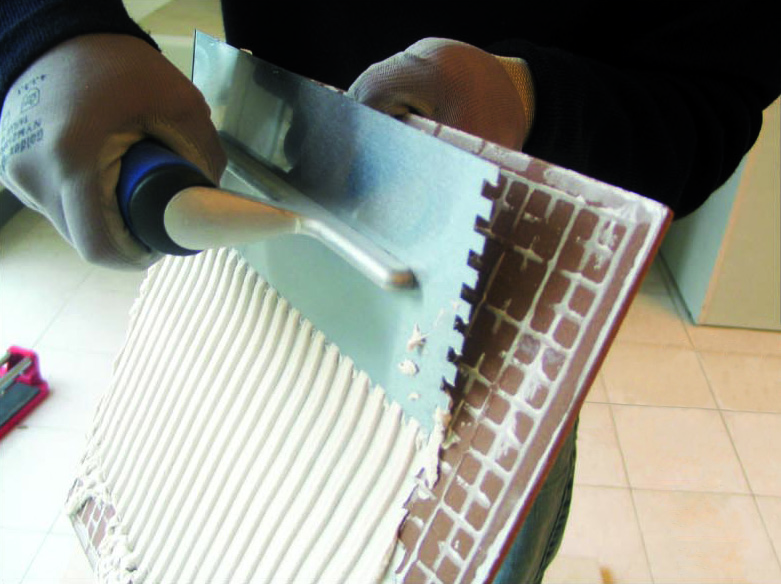
For large surfaces to be glued or for laying on the ground, use a trowel with teeth on two sides.
The gluing is done both on the back of the tile and the on the support (double gluing).
The coverage rate of the adhesive mortar is at least 85% and 95% for damp areas (such as bathrooms).
It is important to "scratch" the layer of glue, without pressing excessively, with the teeth of the comb or trowel, to ensure better gluing operation. Regularly remove the excess comb with a spatula. Do not neglect the angles and edges of the tile to be glued
Once your tile has been laid, you will need to level it using a tiler bat and a rubber mallet. Unless you use self-leveling spacers, which guarantee perfect leveling during installation.
To do this, place the bat diagonally between the two tiles to be leveled and then strike the center with a rubber mallet
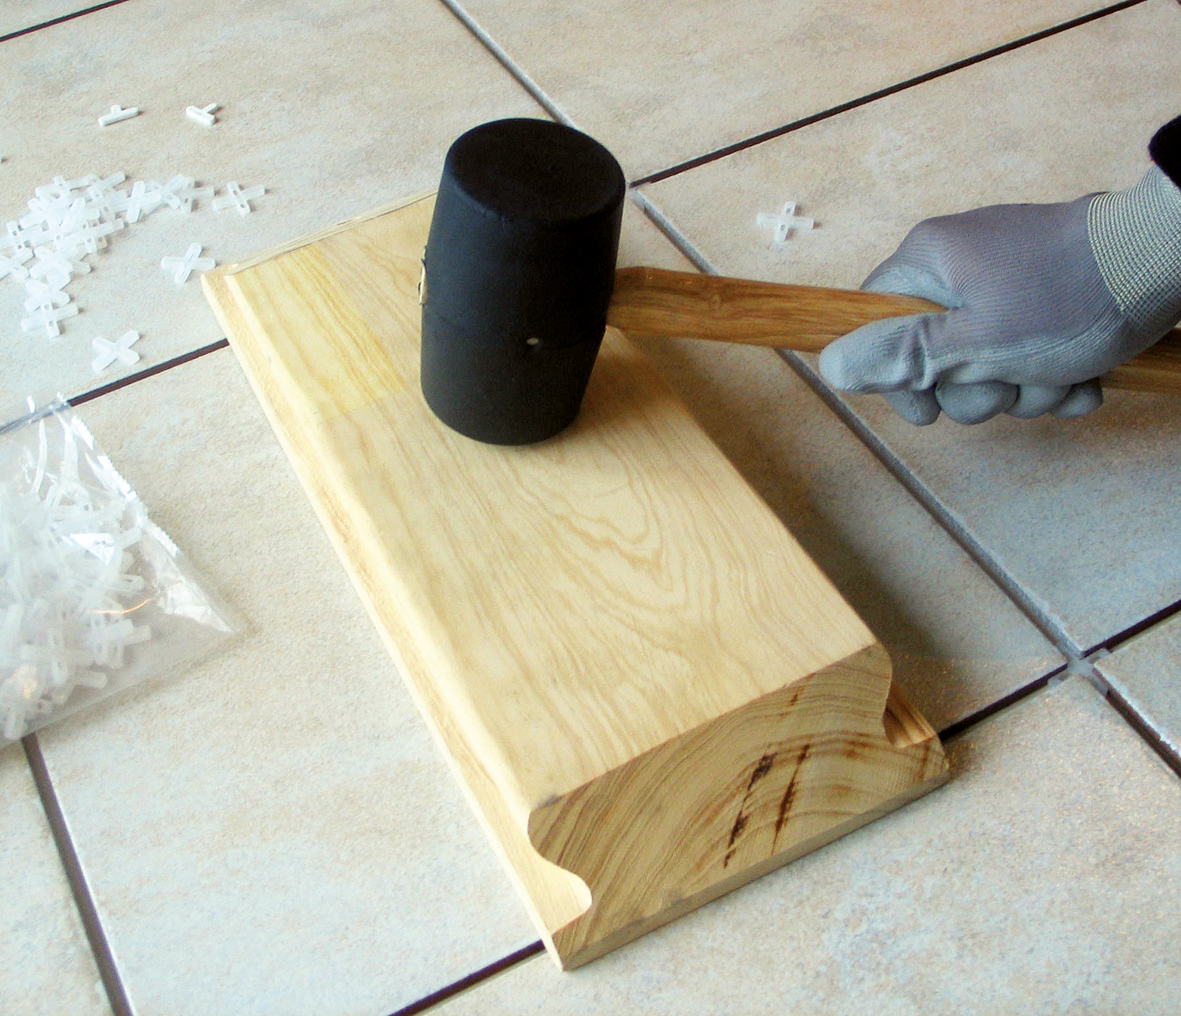
Then make a quarter turn and level the other two tiles.
As a precaution, regularly check the position of the joint spacers during installation, an unexpected displacement would damage all of your work.