

THE LAYOUT
The layout consists in establishing the type of drawing you want to obtain and will be used to plan the laying of the tiles, their disposal, their quantities, the order of installation and the choice of the joints implantation.
This should be done before even considering the purchase of the tiles.
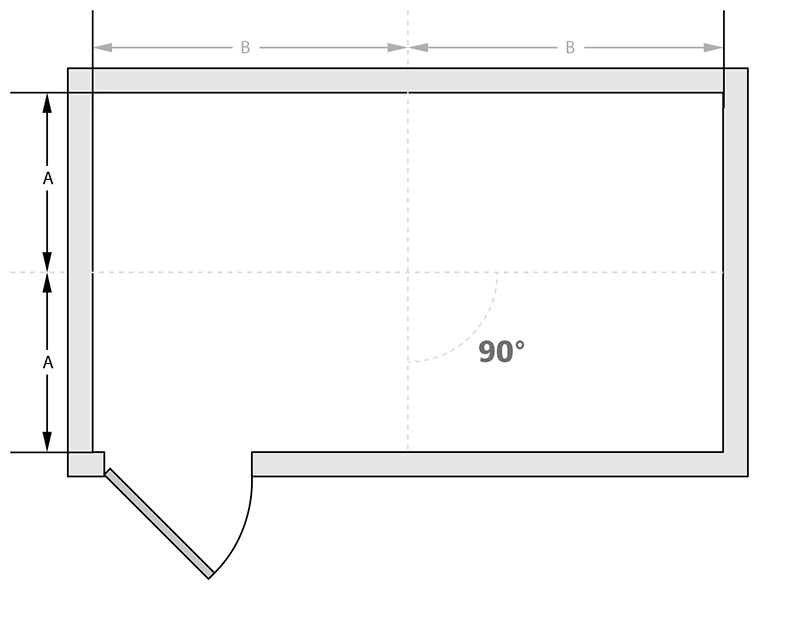
Example n°1 :
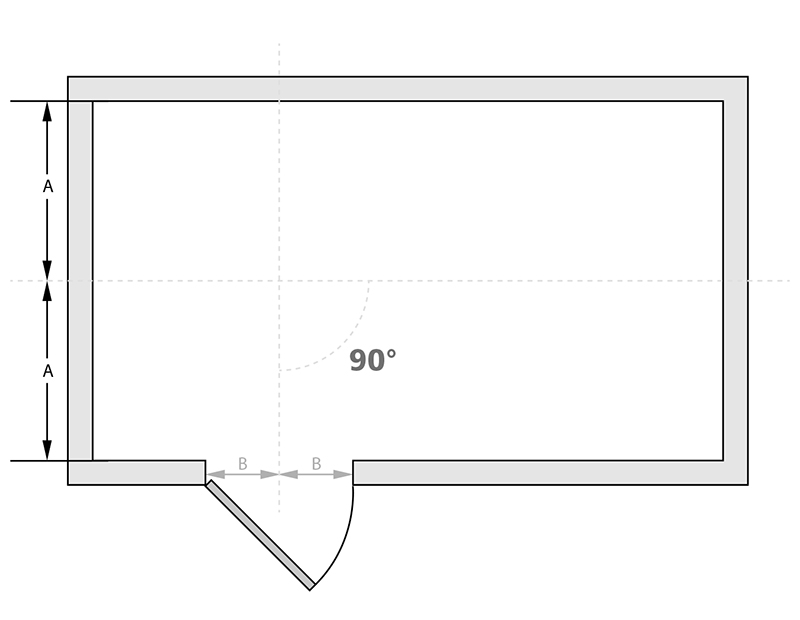
Example n°2 :
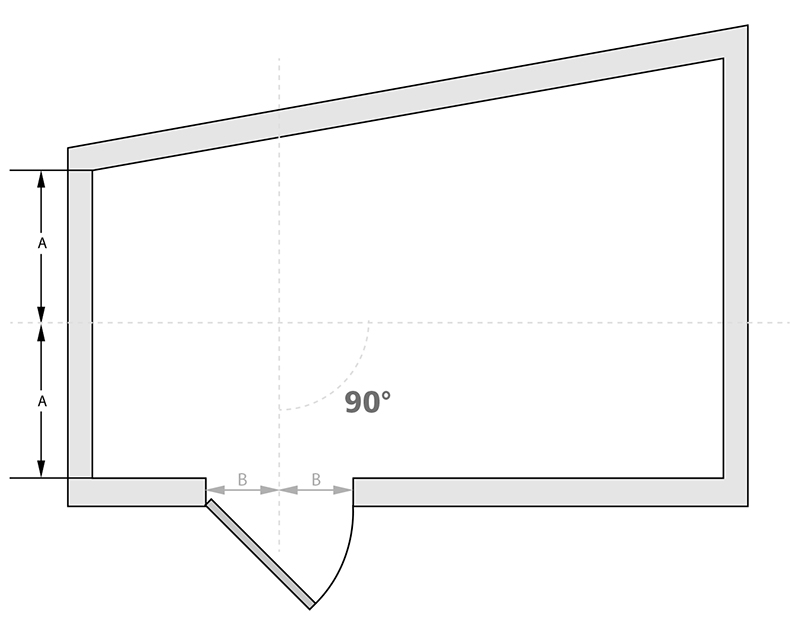
Example n°3 :
You will need to calculate the quantities of tiles needed for your floor surface. Then you will need to determine the starting point of the lines. You can start from a corner of the room, but it is more recommended to start from the center of the area.
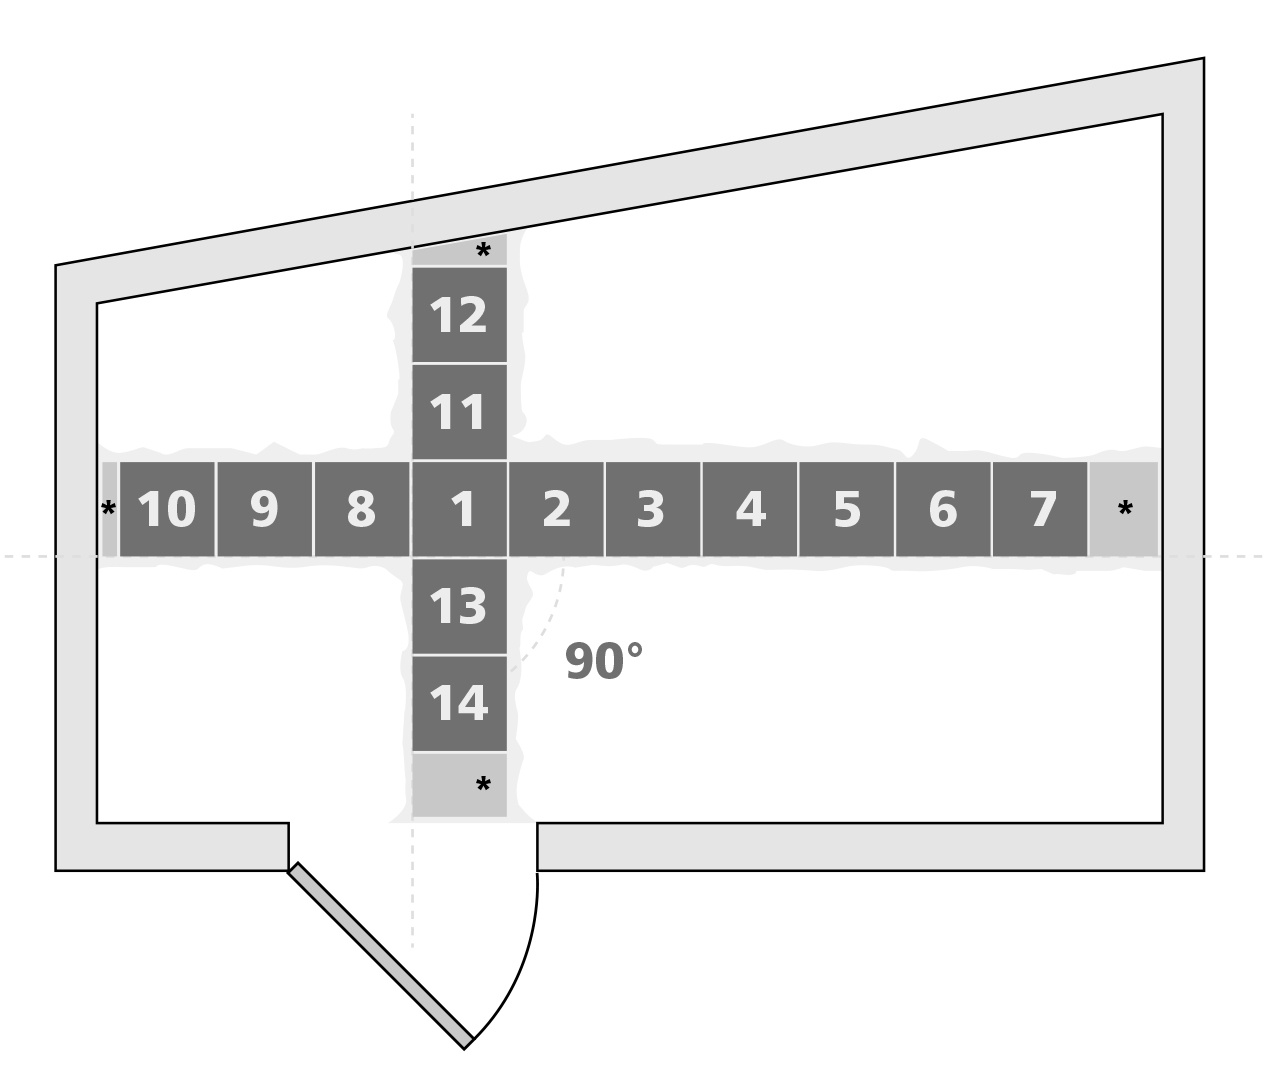
For a square or rectangular room, it is better to start on an axis from center on the door (Example2) You can also determine
the center of each wall, in order to draw the medians from these lines. (Example1)
The calculation of the number of tiles:
First you need to measure the dimensions of the room to be tiled, in square meters (m2). You can draw a diagram of the room to scale, which will allow you to easily plan the laying of the tiles.
Calculate the area of ??a tile in m2, then divide the area of ??the room (in m2) by the area of ??a tile (in m2), you will get
the number of tiles needed. However, keep a safety margin by buying 15% additional tiles to overcome the problems of damaged or defective tiles (broken in the package, different color, scratches, etc.)
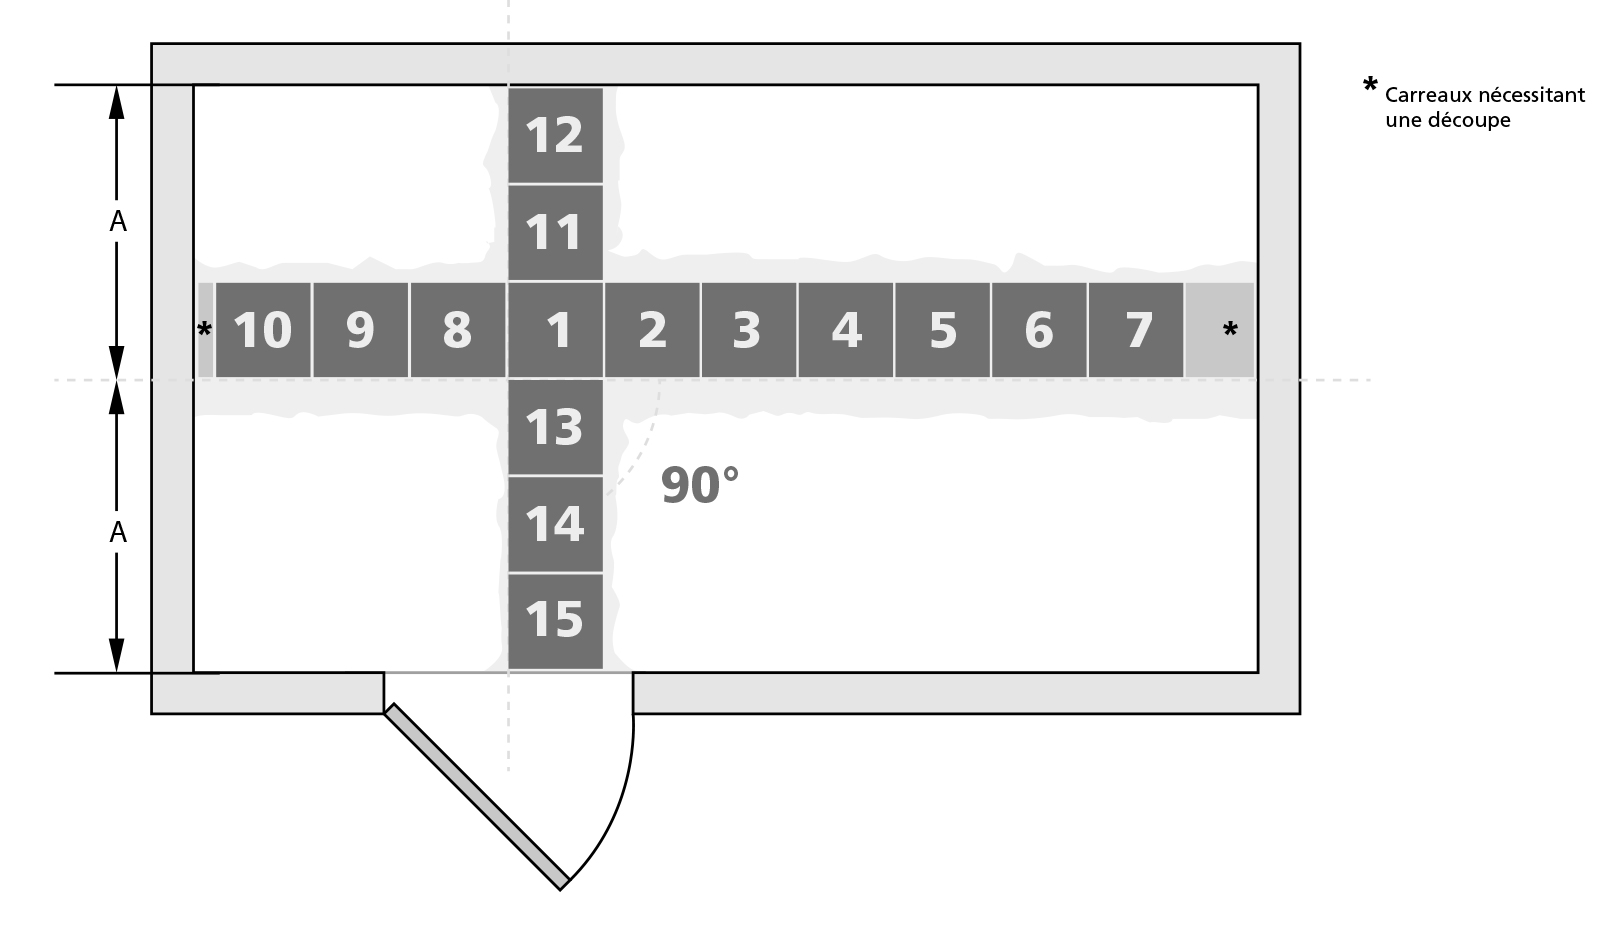
If you plan to make a particular pattern, consider drawing a diagram on paper and numbering the tiles, or even color them on your diagram, so you don’t go wrong.
Once your starting point has been determined, mark the landmarks on the ground using a pencil, or a chalk line, if you have one. (for line tracing, it is better to be two people). It is of course advisable to do a so-called «blank» installation, that is to say without the glue, in order to adjust the placement of your tiles and plan all your cuts in advance. Remember to arrange the spacers to take account of the joint’s thickness.
Here is the example of a square room :
Here is the example of a room with non-parallel walls :
Once this base has been laid, you can continue your blank laying before gluing!